How to See and Draw Birds
How to See Feathers: Learning to Observe Birds Before You Draw Them
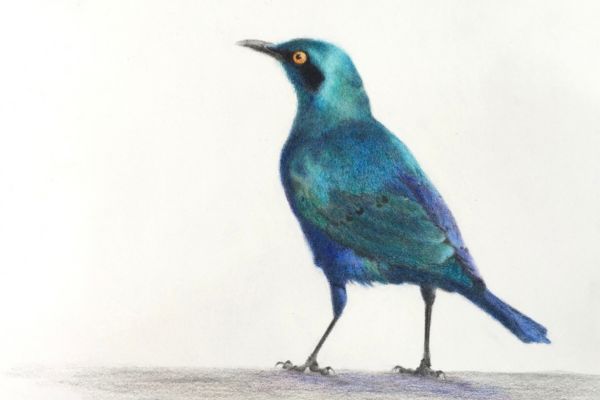
Birds are wonderful subjects to draw. They come in an extraordinary variety of shapes, colours and sizes, and their feathers can range from soft and fluffy to sleek, patterned and highly structured.
But all those feathers can also make birds quite overwhelming to draw.
When we look at a reference photo, it's tempting to start drawing individual feathers right away. As pencil users, we're naturally drawn to detail. We see hundreds of little shapes, lines, markings and colour changes and think that capturing all that detail is the secret to creating a realistic bird.
It isn’t.
Before we learn how to draw feathers, we need to learn how to see them.
And, perhaps more importantly, we need to learn to see the bird underneath them.
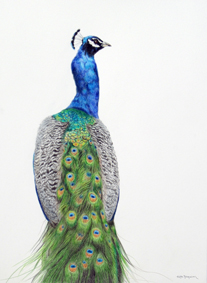
Don't Start With the Feathers
This is very similar to drawing fur.
When we look at an animal, we know it is covered in thousands of individual hairs, but we don't need to draw every one of them. Instead, we look for larger masses and changes in value, direction, texture, and form.
The same principle applies to feathers. If you start by concentrating on every individual feather, you can easily lose sight of the bird as a whole. The result may contain lots of beautifully drawn feathers but still feel flat or somehow not quite right.
Instead, step back and look at the big shapes first.
What is the bird's overall silhouette?
How large is the head in relation to the body?
What is the angle of the body?
How long is the neck?
Where do the wings sit?
What is the tail shape?
Where are the legs positioned?
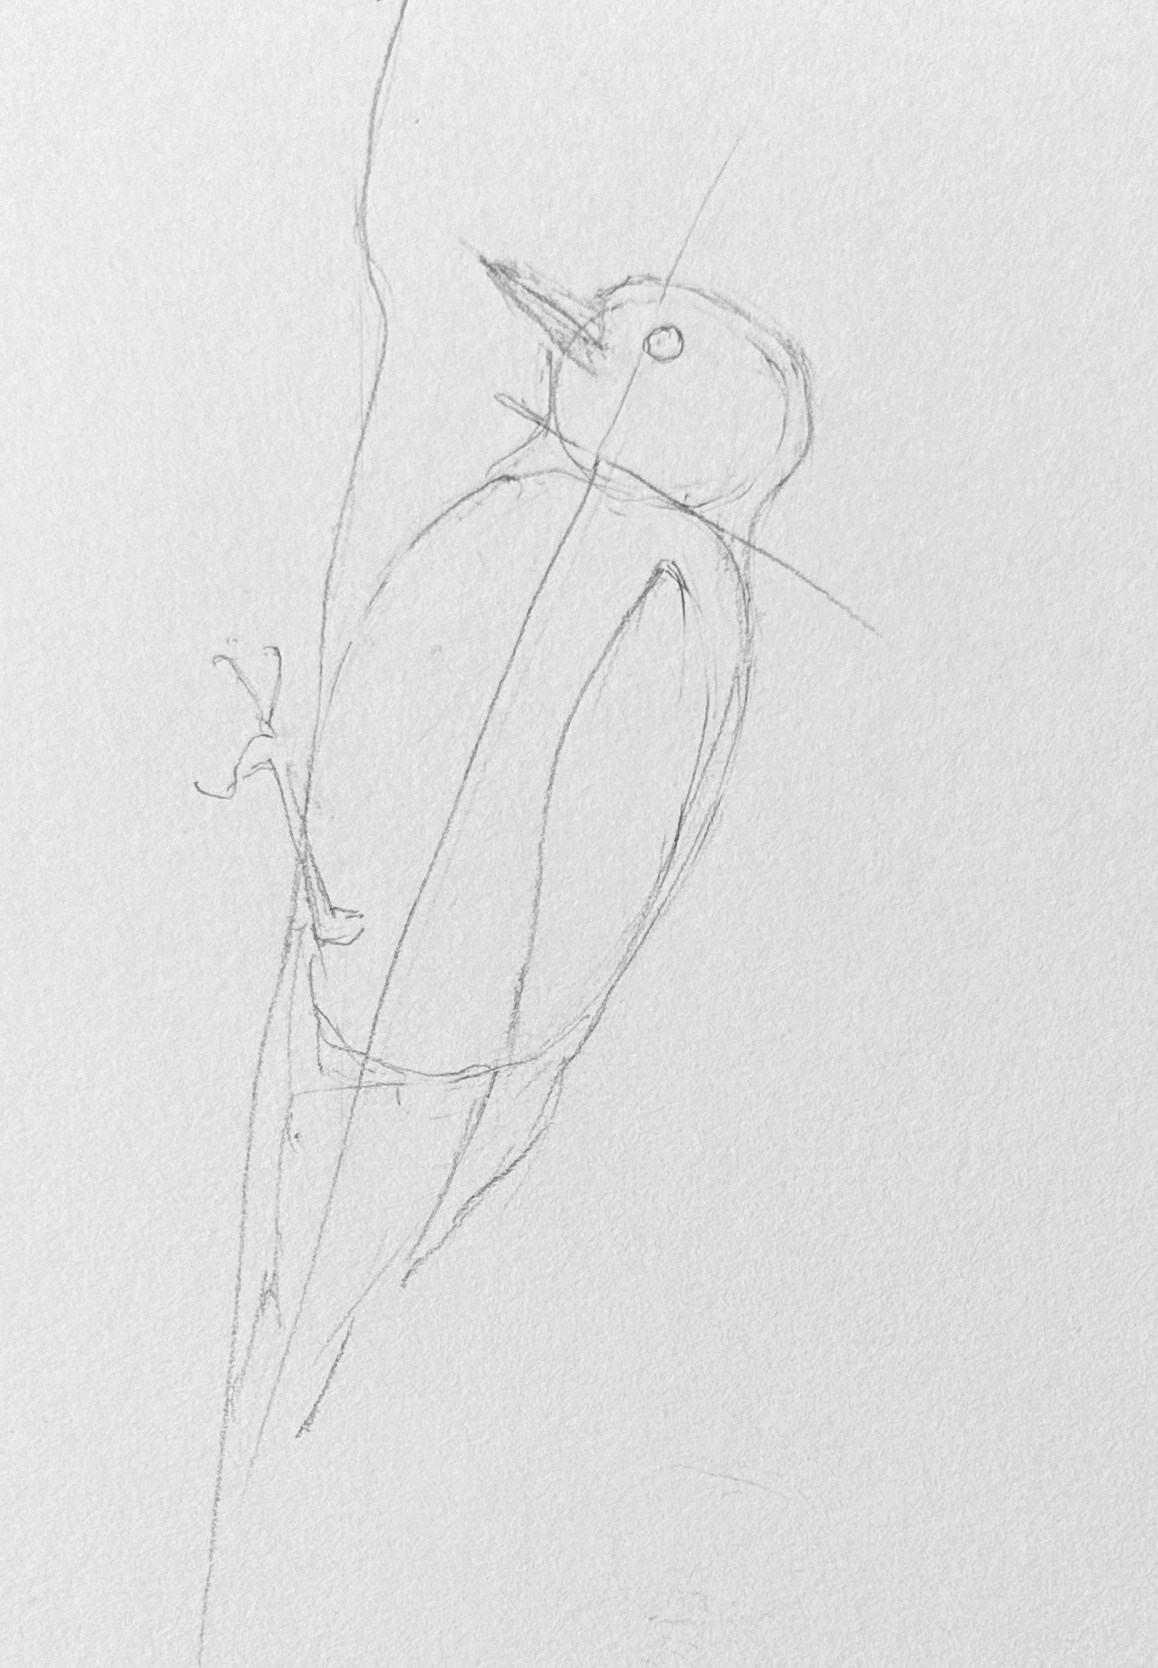
Here is an example of how I construct a bird using guidelines and shapes for the initial silhouette.
A great tip: Try squinting at your reference photograph. When the tiny details disappear, the larger shapes and values become much easier to see.
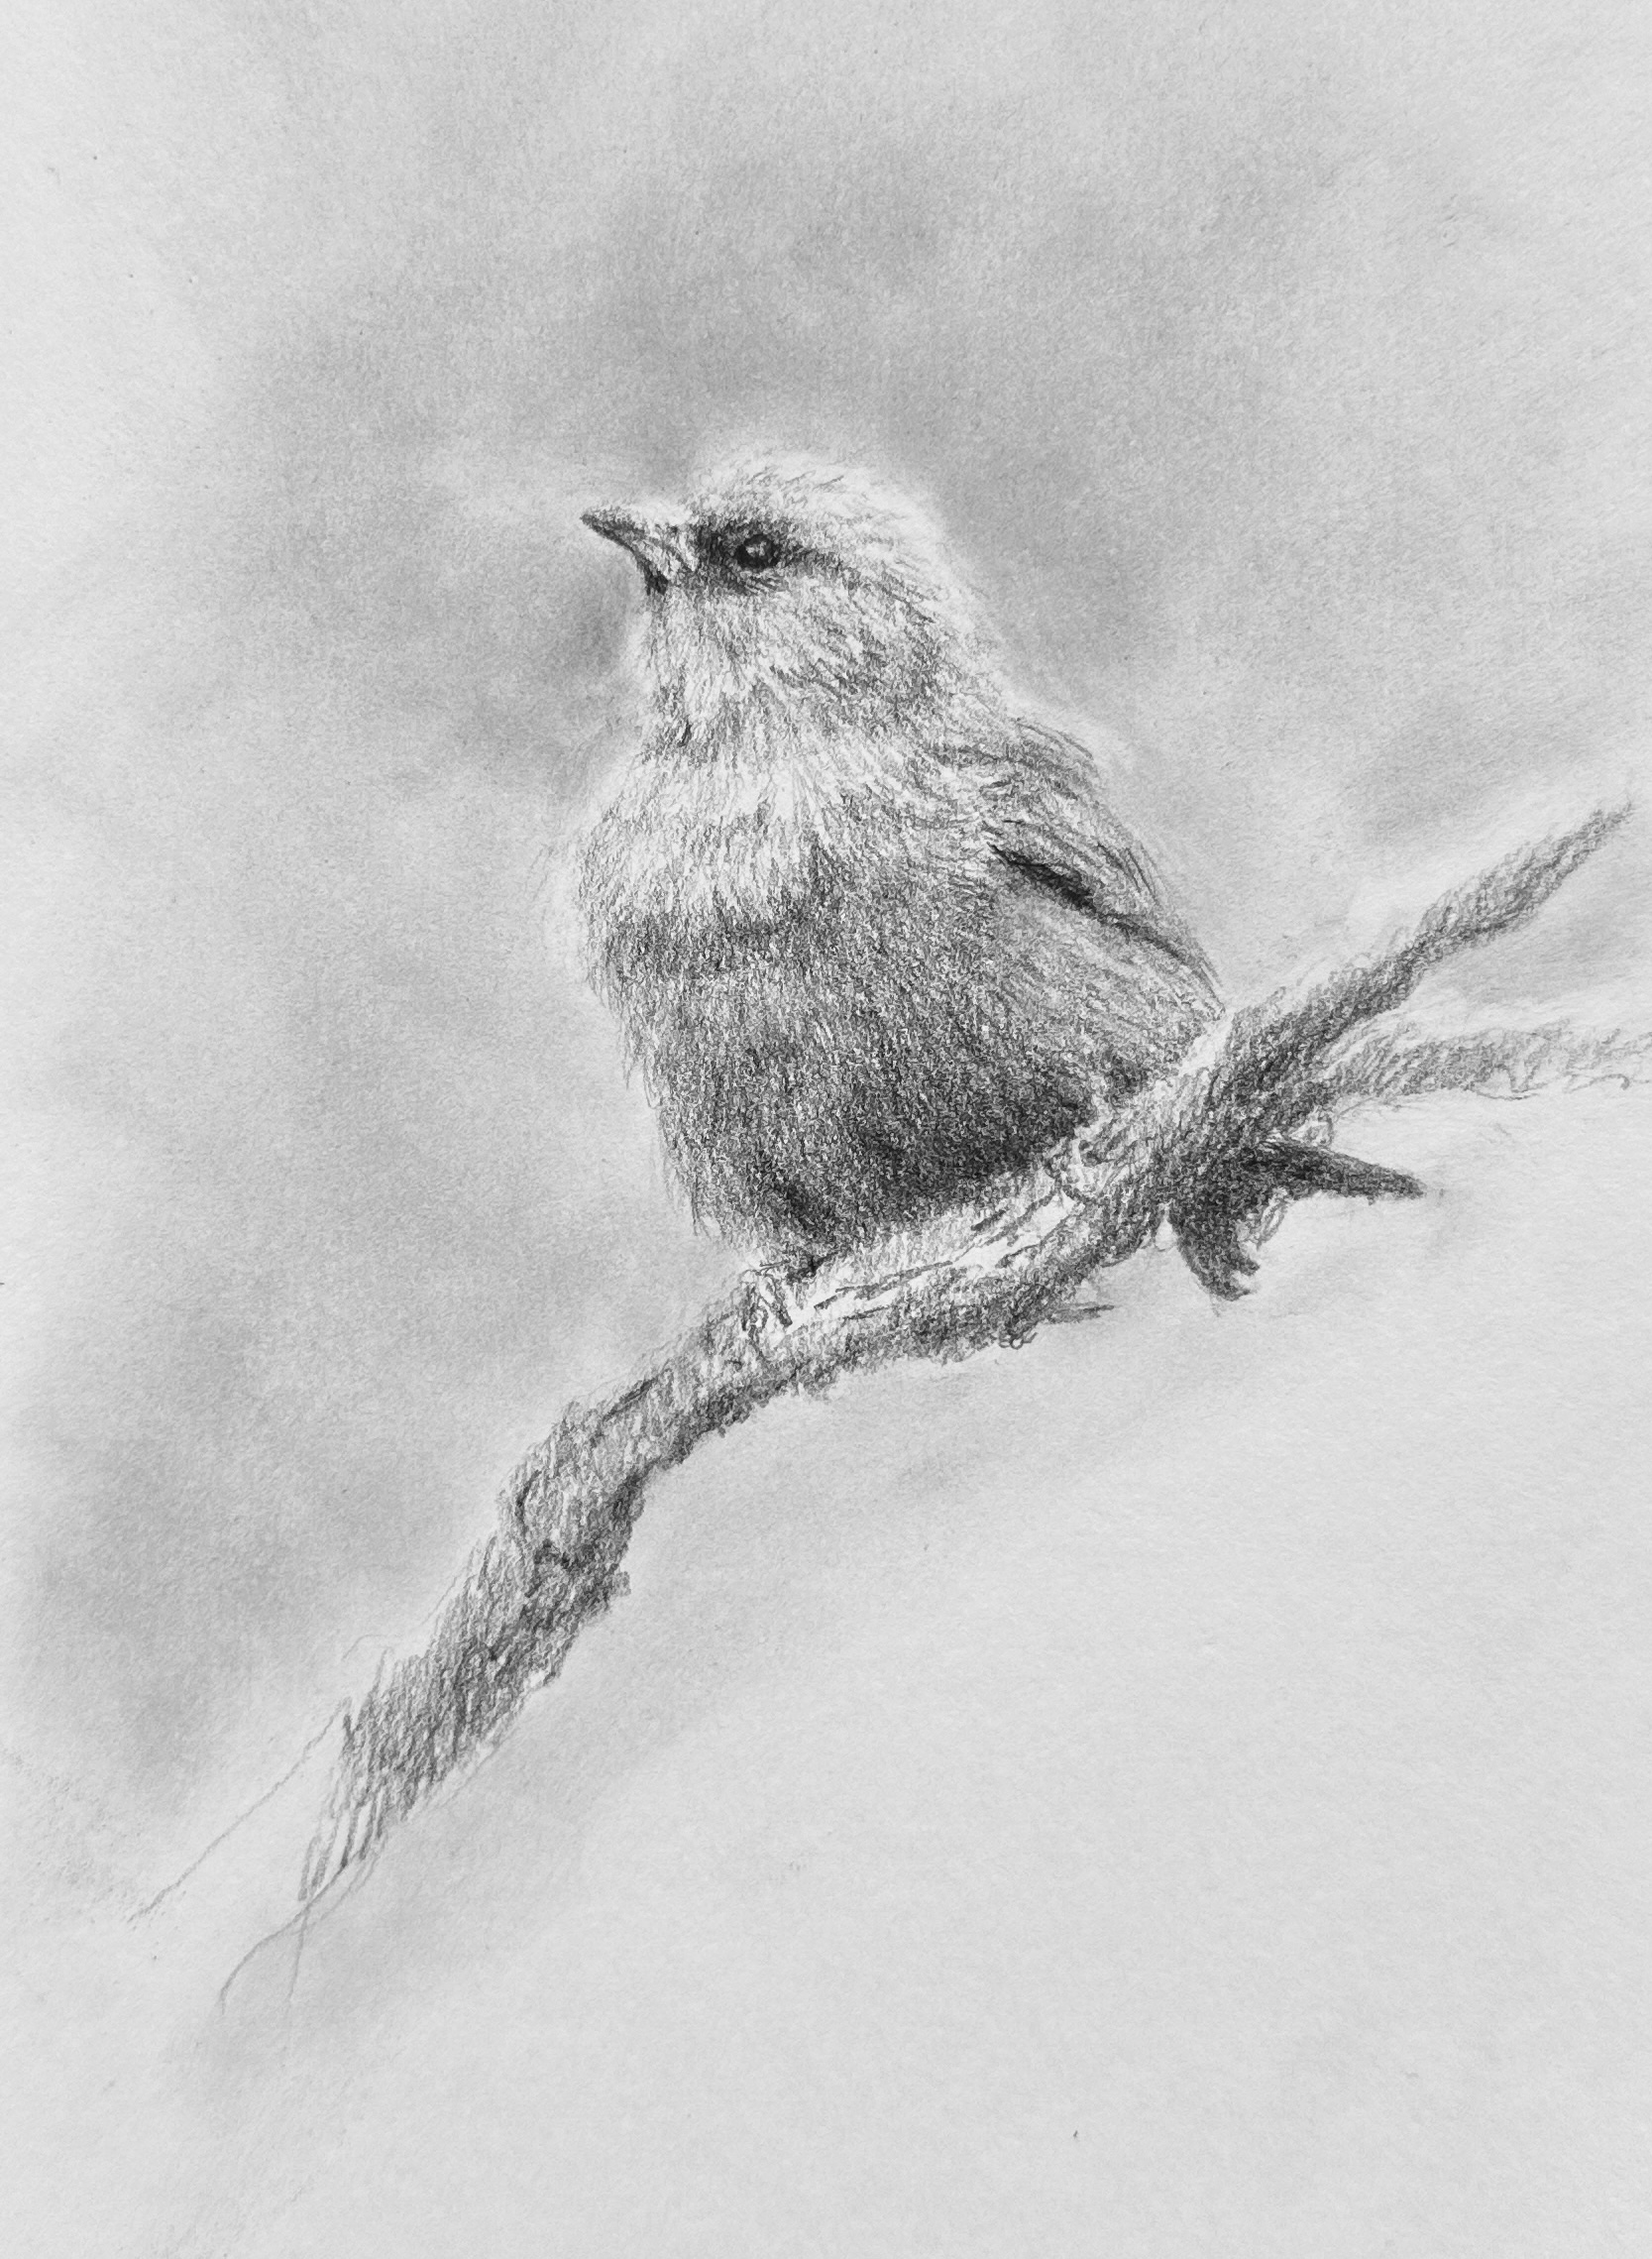
These are the foundations of your drawing. Look for light and shade. Before worrying about feather detail, look at the overall pattern of light and shade.
Where is your light source?
Where are the bird's lightest areas?
Where are the darkest areas?
Where are the larger mid-value shapes?
Intricate feather markings can easily distract us from the underlying value structure. But light and shade help create the bird's three-dimensional form. Think of the bird as a solid form first and a feathered form second.
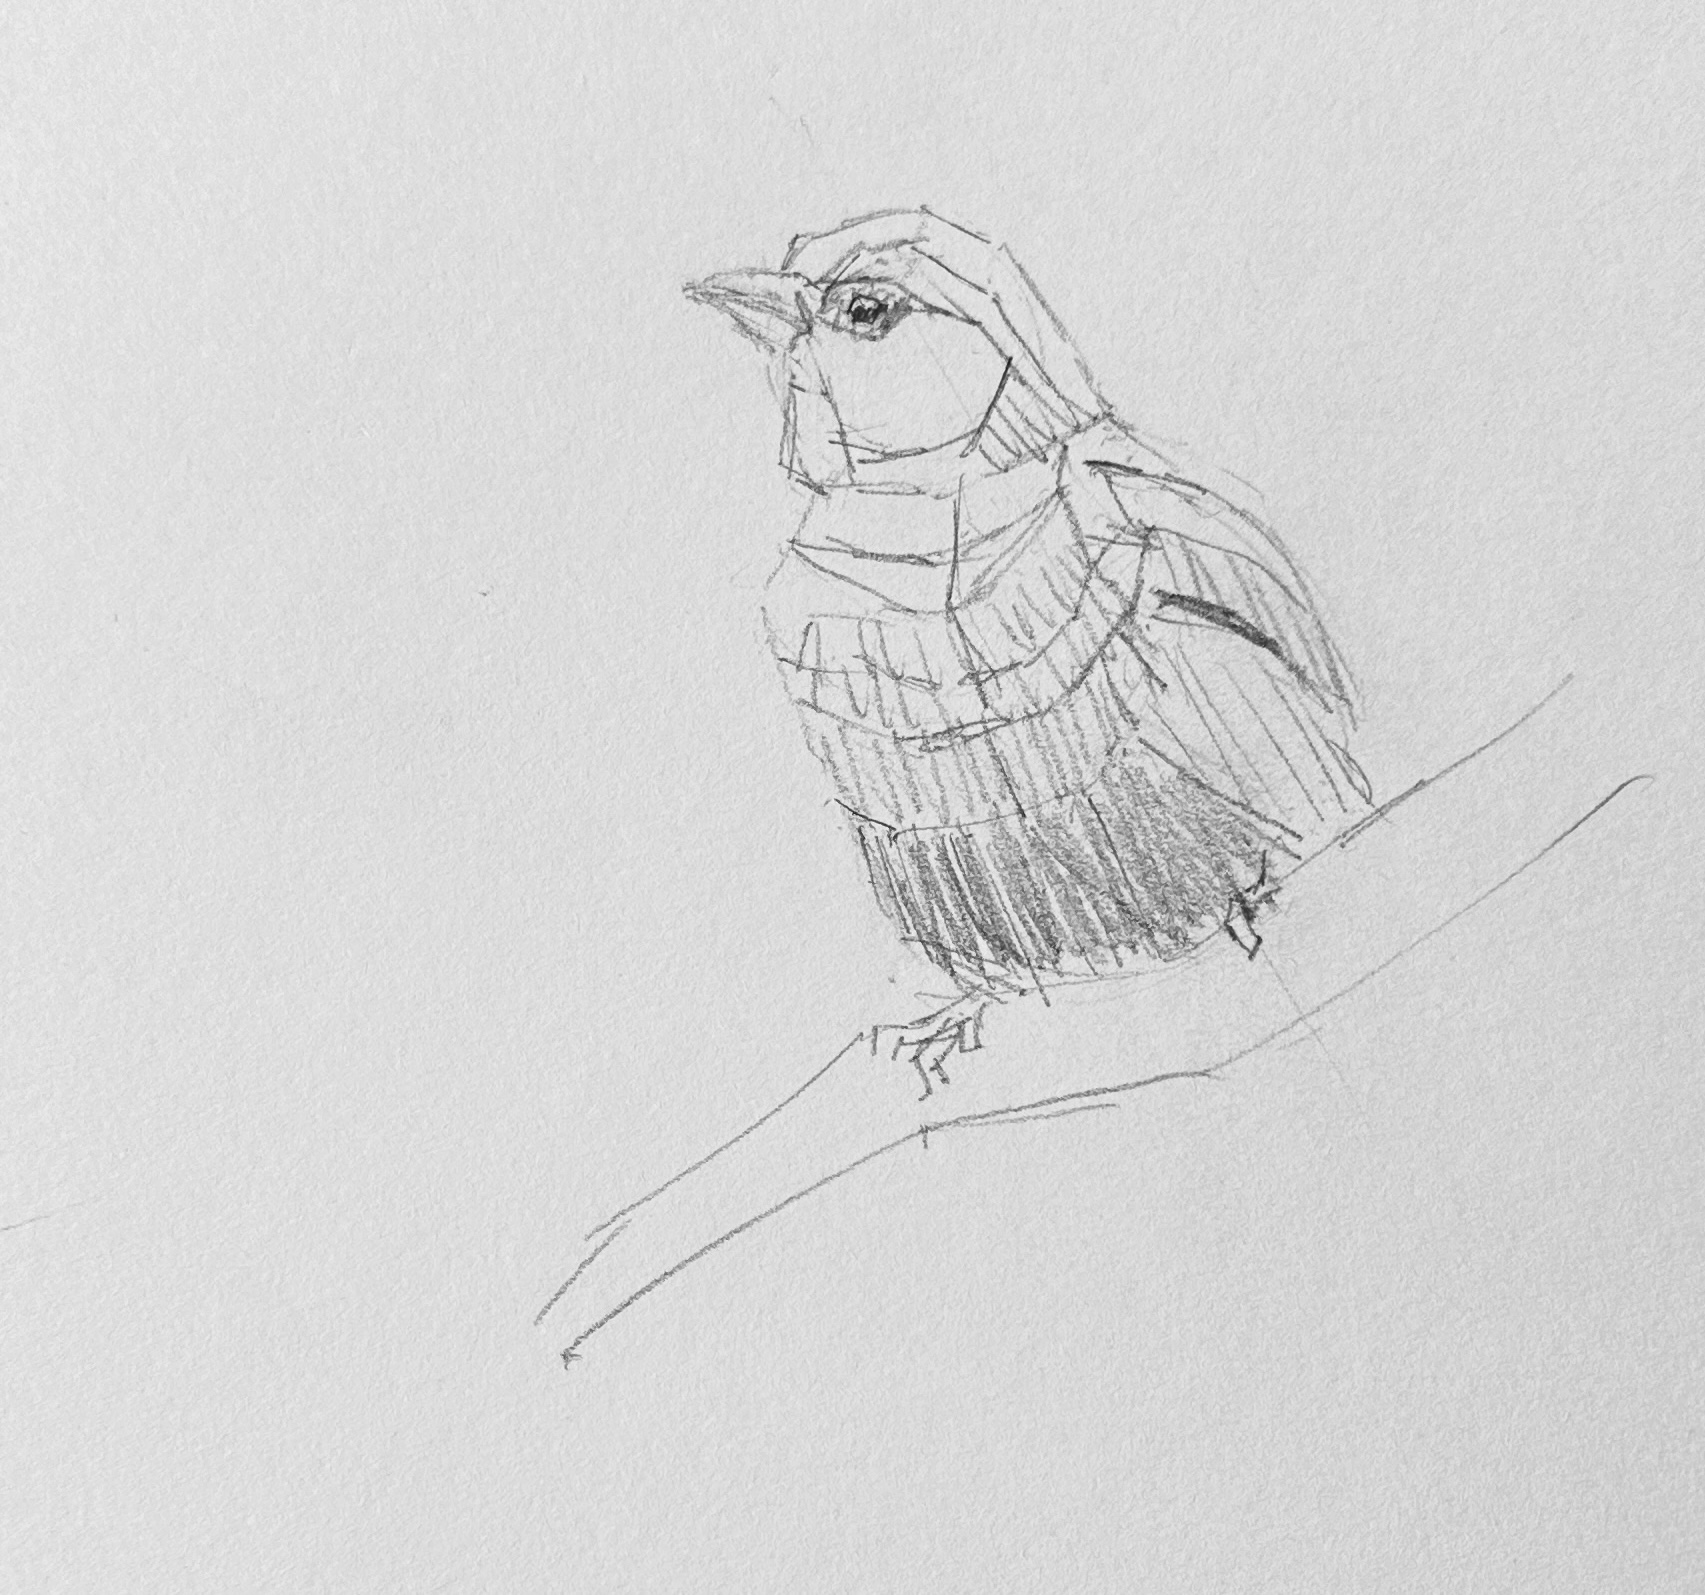
Thinking of the bird in planes can help to determine the values.
Learn to See Feather Groups
Rather than seeing hundreds of individual feathers, start looking for groups and masses of feathers. You might see a large soft mass across the breast, a sweep of overlapping feathers along the wing or a change in direction around the neck.
Look for the larger pattern before the smaller details.
Ask yourself:
Can I group these feathers together?
Where do I actually need detail?
Where could I simply suggest feathers?
A few carefully chosen feather details surrounded by quieter areas can often be far more convincing than trying to describe every single feather. Your viewer's brain is very good at filling in the information you leave out.
Soft Feathers Versus Structured Feathers
Don't draw all feathers the same way.
The soft feathers covering much of the bird's body differ greatly from the stronger flight feathers of the wings and tail.
Soft body feathers may appear fluffy, fine and almost indistinct in places. Their edges can merge gently into one another.
Your pencil application needs to communicate that softness.
Use lighter pressure, subtle transitions and softer edges rather than outlining each feather.
The larger wing and tail feathers, on the other hand, usually have much more structure. You may see clearer overlaps, longer sweeping shapes, stronger direction and firmer edges.
Your pencil marks can become more deliberate here.
One key to creating convincing feathers is letting your pencil application change based on the type of feather you are describing.
Pay Attention to Edges
Edges are incredibly important when drawing birds. If you give every feather a crisp outline, the bird can quickly begin to look stiff or patterned.
Instead, look for variation.
Where is the edge genuinely sharp?
Where does it soften?
Where does it disappear completely?
You may have a beautifully defined edge around part of a wing while the soft breast feathers almost disappear into the background. Hard edges tend to attract our attention. Soft and lost edges allow areas to recede. You can use this deliberately to guide the viewer around your drawing.
Look Beyond the Feathers
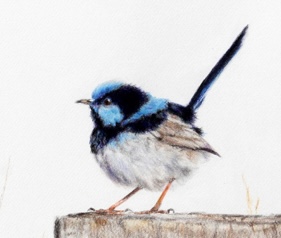
To understand a bird, we need to look beyond its feathers. Every bird is uniquely designed for how it lives, feeds, and survives.
A seabird is built differently from a raptor.
A wetland bird has different requirements from a songbird.
A nocturnal hunter doesn't have the same adaptations as a honeyeater.
When you understand something about your subject's lifestyle and habitat, many of the shapes you see in your reference begin to make more sense. This is why I encourage artists to do a little research before beginning a bird drawing.
Study the Eye and Beak
Once your larger shapes and values are established, you can begin to intensify your observation.
Look closely at the eye.
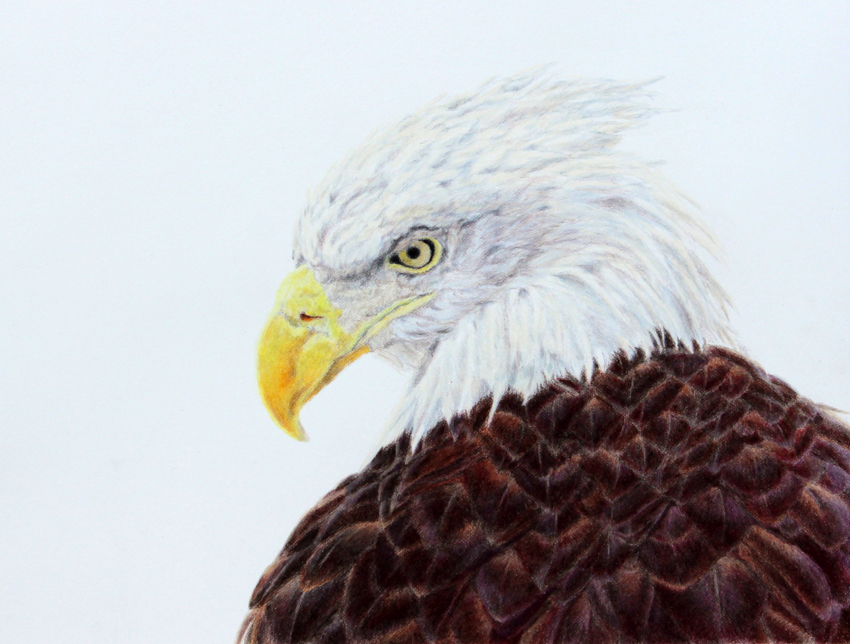
Don't simply draw what you think a bird's eye looks like. Look at its exact shape, position, colour and surrounding structures.
Where is the highlight?
What value is the iris?
How does the eye sit within the shape of the head?
Then look at the beak.
Study its length, thickness, curve, colour, highlights and shadows.
Beaks vary enormously because they are designed for different feeding methods.
Rather than thinking, "I'm drawing a beak," think, "I'm drawing this particular bird's beak."
In some species, even beak colour can change during the breeding season, so research can help if something in your reference seems unexpected.
Don't Forget the Legs and Feet
Legs and feet are another area that can easily become an afterthought in a bird drawing.
Bird legs vary enormously in length, thickness, shape, texture and colour. The feet are even more specialised.
A waterbird may have webbed feet for swimming. A wetland bird may have long, widely spread toes that help it move across soft surfaces. Raptors have powerful feet and talons for catching and holding prey, while perching birds need feet designed to grip branches.
So before you draw the feet, ask:
What are these feet designed to do?
Many birds have four toes, commonly with three facing forward and one backwards, while some species have two toes facing forward and two backwards. There are other arrangements as well.
This is one area where researching your particular species is extremely useful.
If the feet aren't clearly visible in your reference photograph, don't simply invent them or copy the feet from another bird. Find out what your bird actually has.
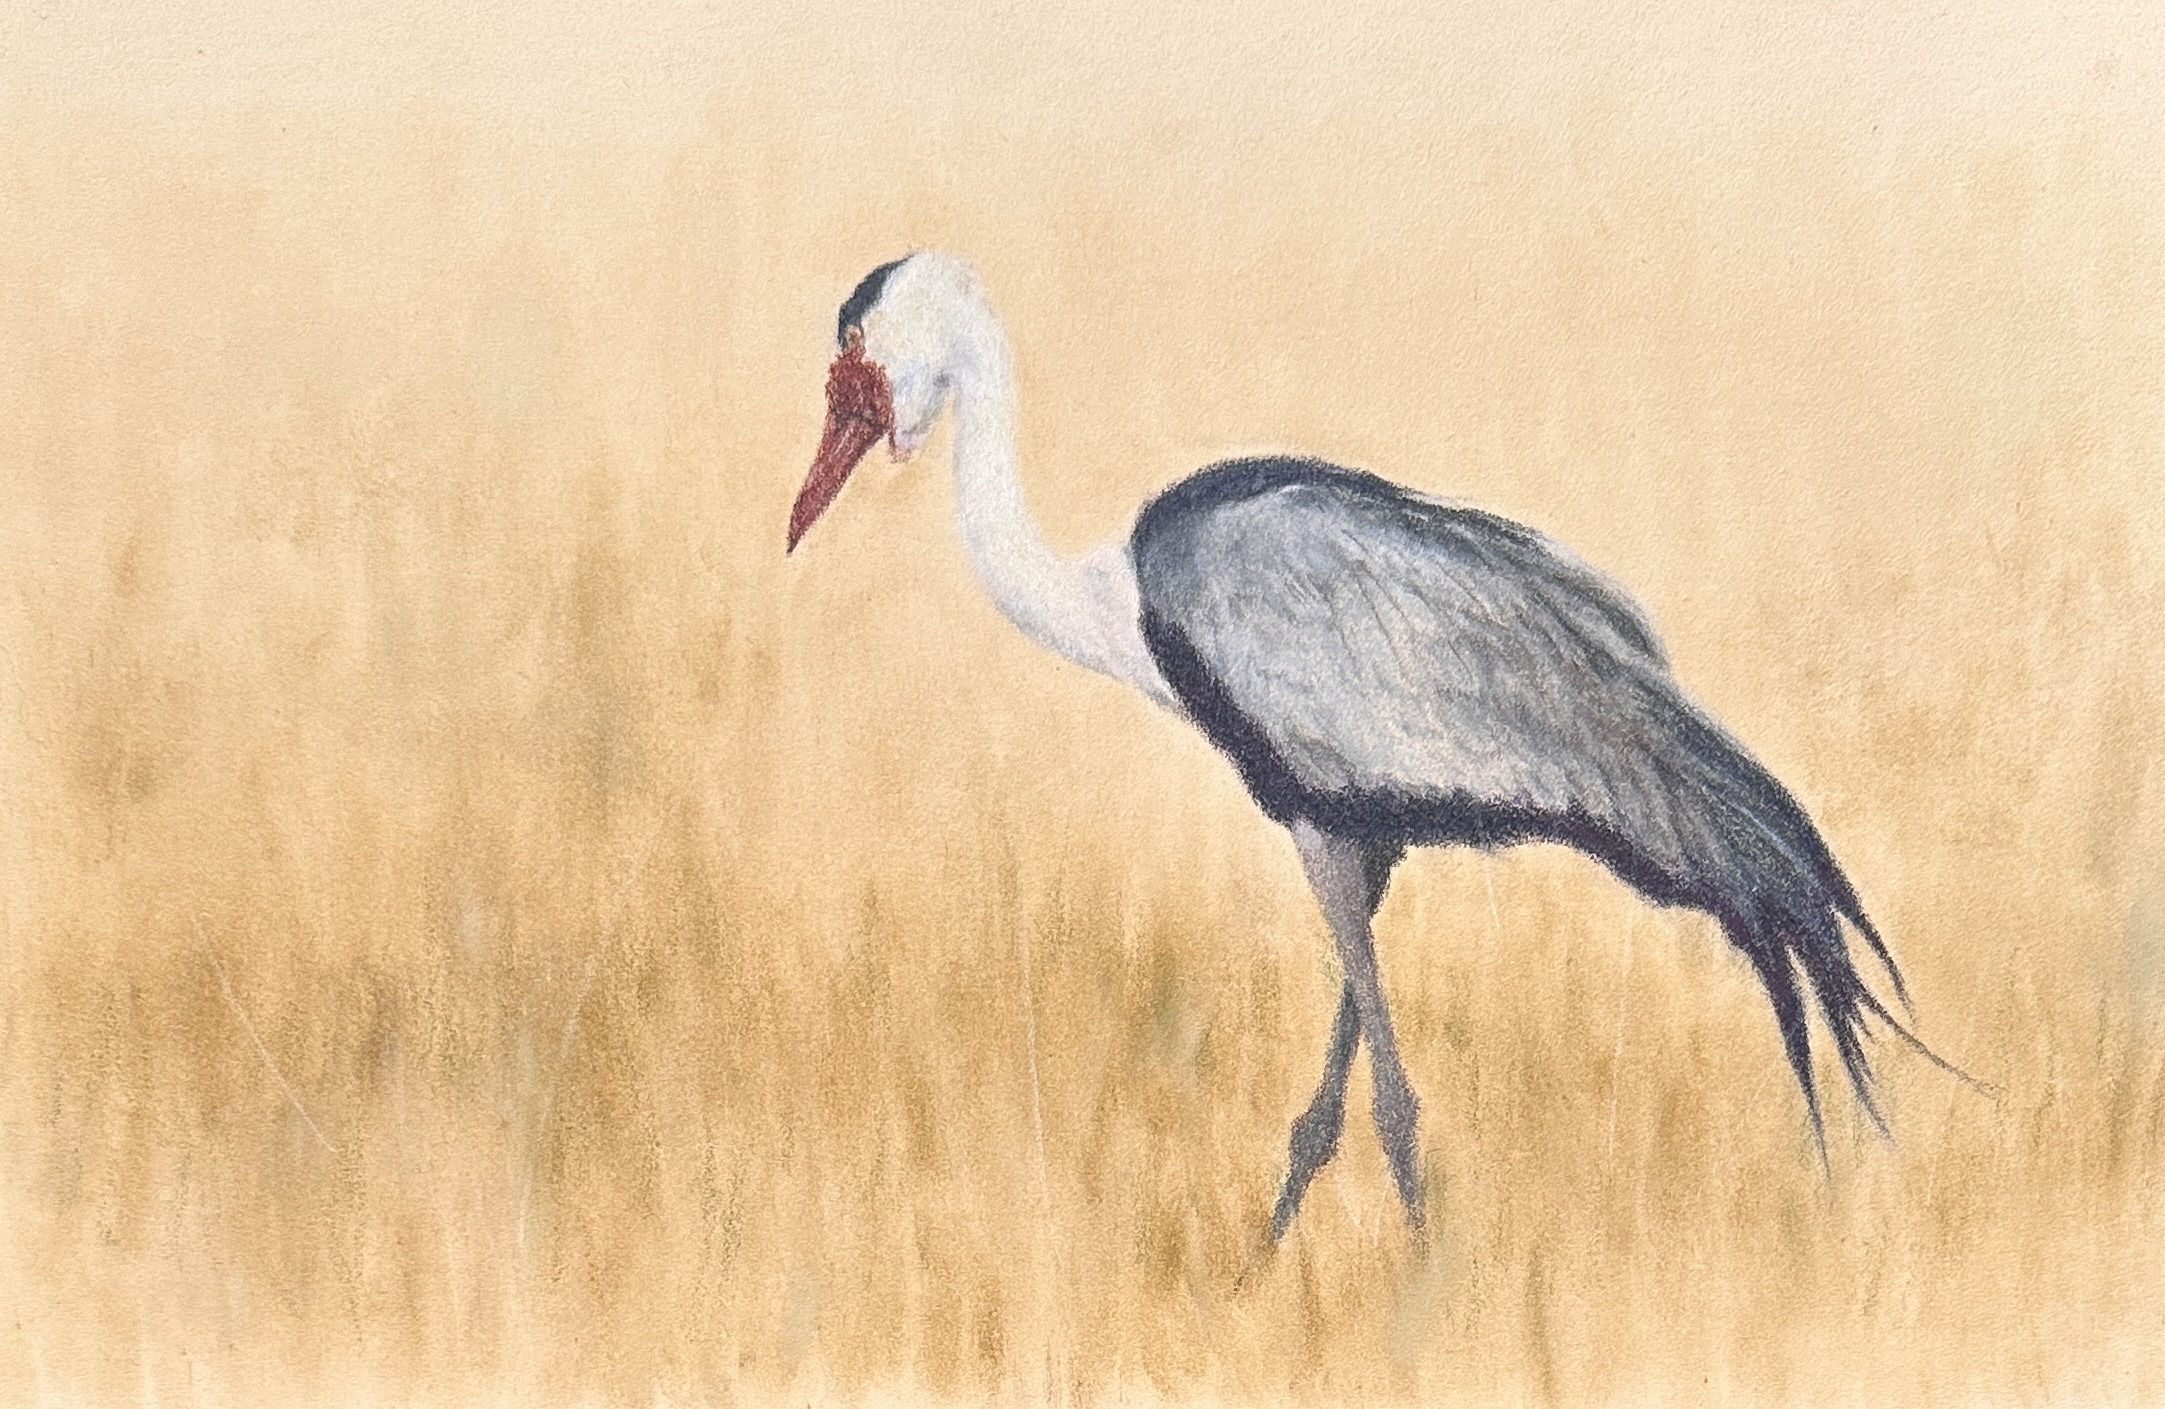
Let Your Pencil Describe the Surface
As you work through your bird drawing, keep asking yourself:
What am I trying to describe?
A soft, fluffy breast needs a different pencil application from a strong flight feather.
A smooth beak needs a different treatment from feathers.
Scaly legs and feet require something different again.
Think about your pencil pressure, stroke direction, pencil sharpness, layering, and edges.
Your marks should have a purpose.
Rather than having one technique for "drawing birds", develop a range of marks that help you communicate the different surfaces you see.
Become a Bird Investigator
Before beginning your next bird drawing, spend a little time being a Bird Investigator
Find out:
Where does this bird live?
What does it eat?
How does it find or catch its food?
What is its beak designed to do?
How does it use its wings?
What are its legs and feet designed for?
How are its toes arranged?
Does its appearance change during breeding season?
You don't need hours of research.
Even ten minutes of learning about your subject can change how you look at your reference photograph.
Suddenly, details that previously seemed random begin to have a purpose. And that understanding can make you a much more observant artist.
So the next time you draw a bird, don't measure your success by how many feathers you've managed to include.
Ask yourself:
Have I captured the shape of the bird?
Does it feel three-dimensional?
Can I see the difference between soft and structured feathers?
Have I varied my edges?
Have I simplified areas that don't need detail?
Do I understand how this particular bird is designed to live?
Most importantly:
Have I observed what is really there, rather than drawing what I assume is there?
Learning to draw birds isn't really about learning a formula for drawing feathers.
It's about becoming better at seeing.
Observe first. Understand second. Draw third.
That is when we stop drawing our idea of a bird and start drawing the wonderful, individual bird in front of us.
Inside the Animal Artists Academy
This month in the Animal Artists Academy, we're exploring exactly this, learning to really see birds and feathers rather than simply copying what appears in a reference photograph.
Alongside our bird drawing challenge, we're studying shape, form, values, edges, feather structure and the wonderful adaptations that make each bird unique.
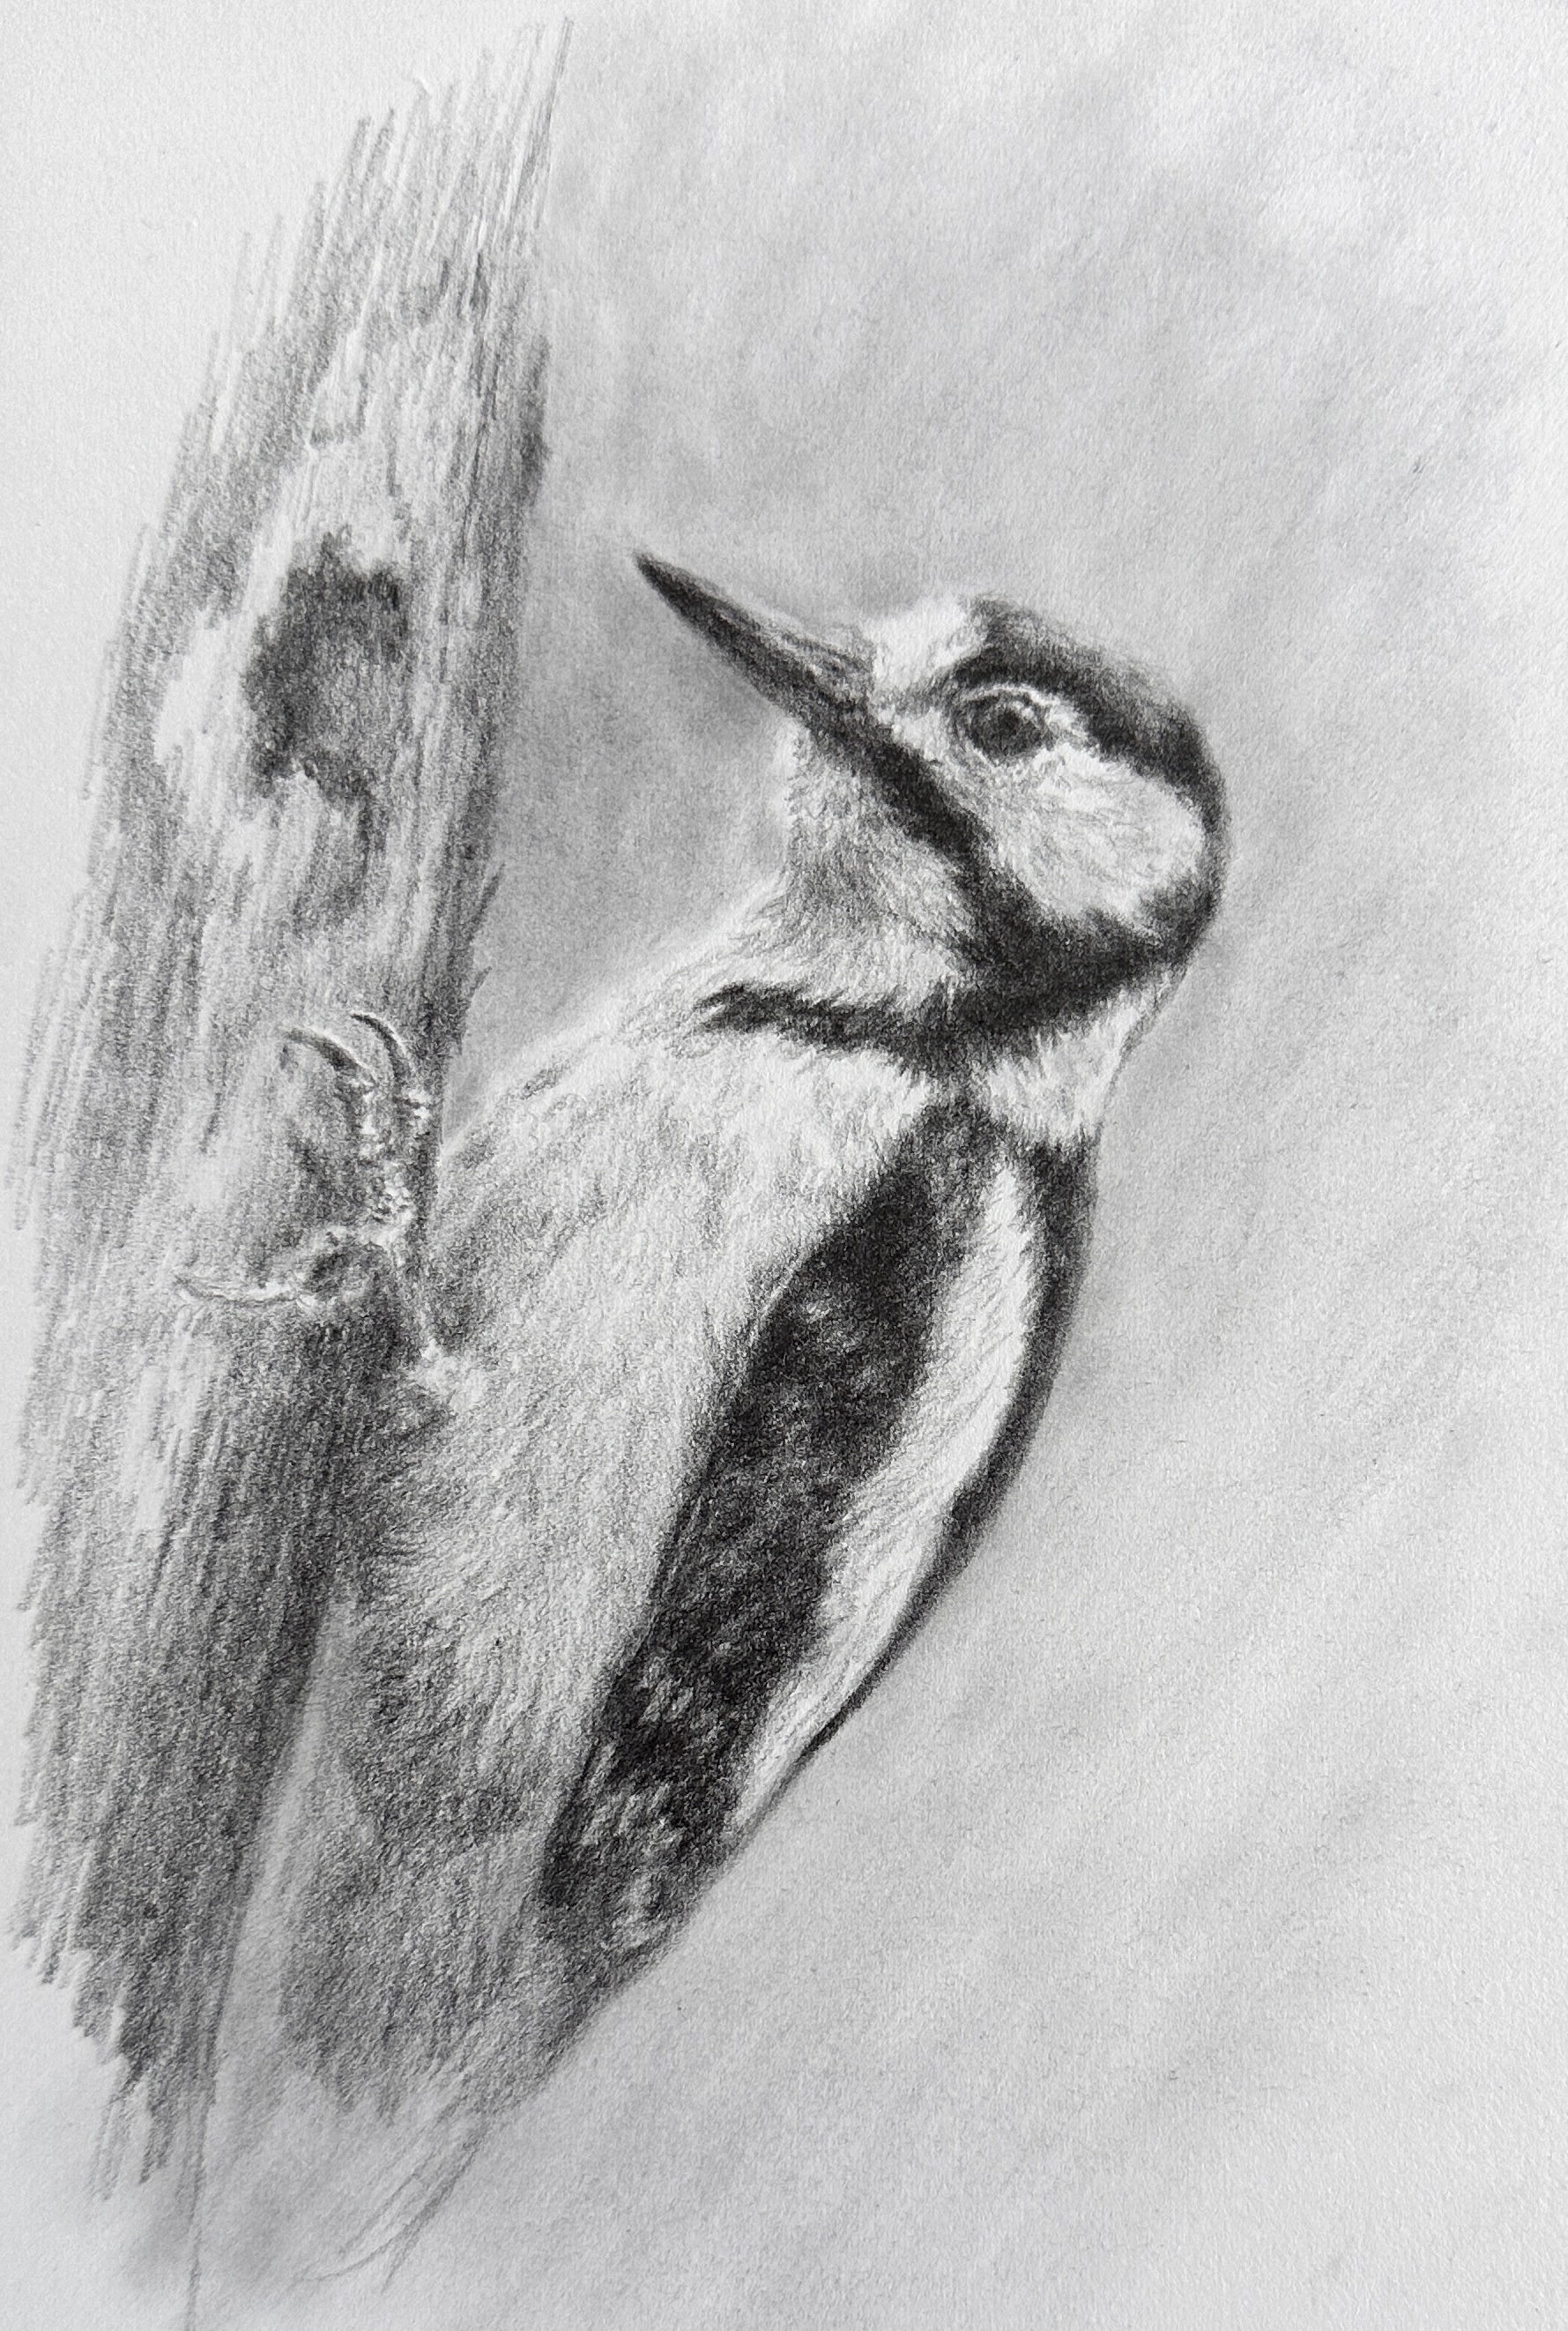
A live demonstration included a close look at drawing the soft white feathers and dark wing feathers of a woodpecker using graphite.
It's all part of developing the observation skills that help us become more confident, independent animal artists.