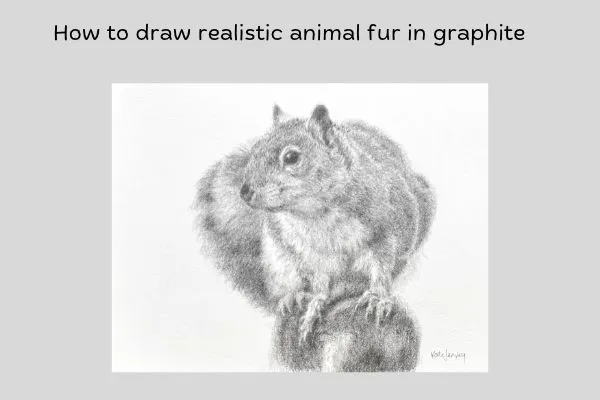
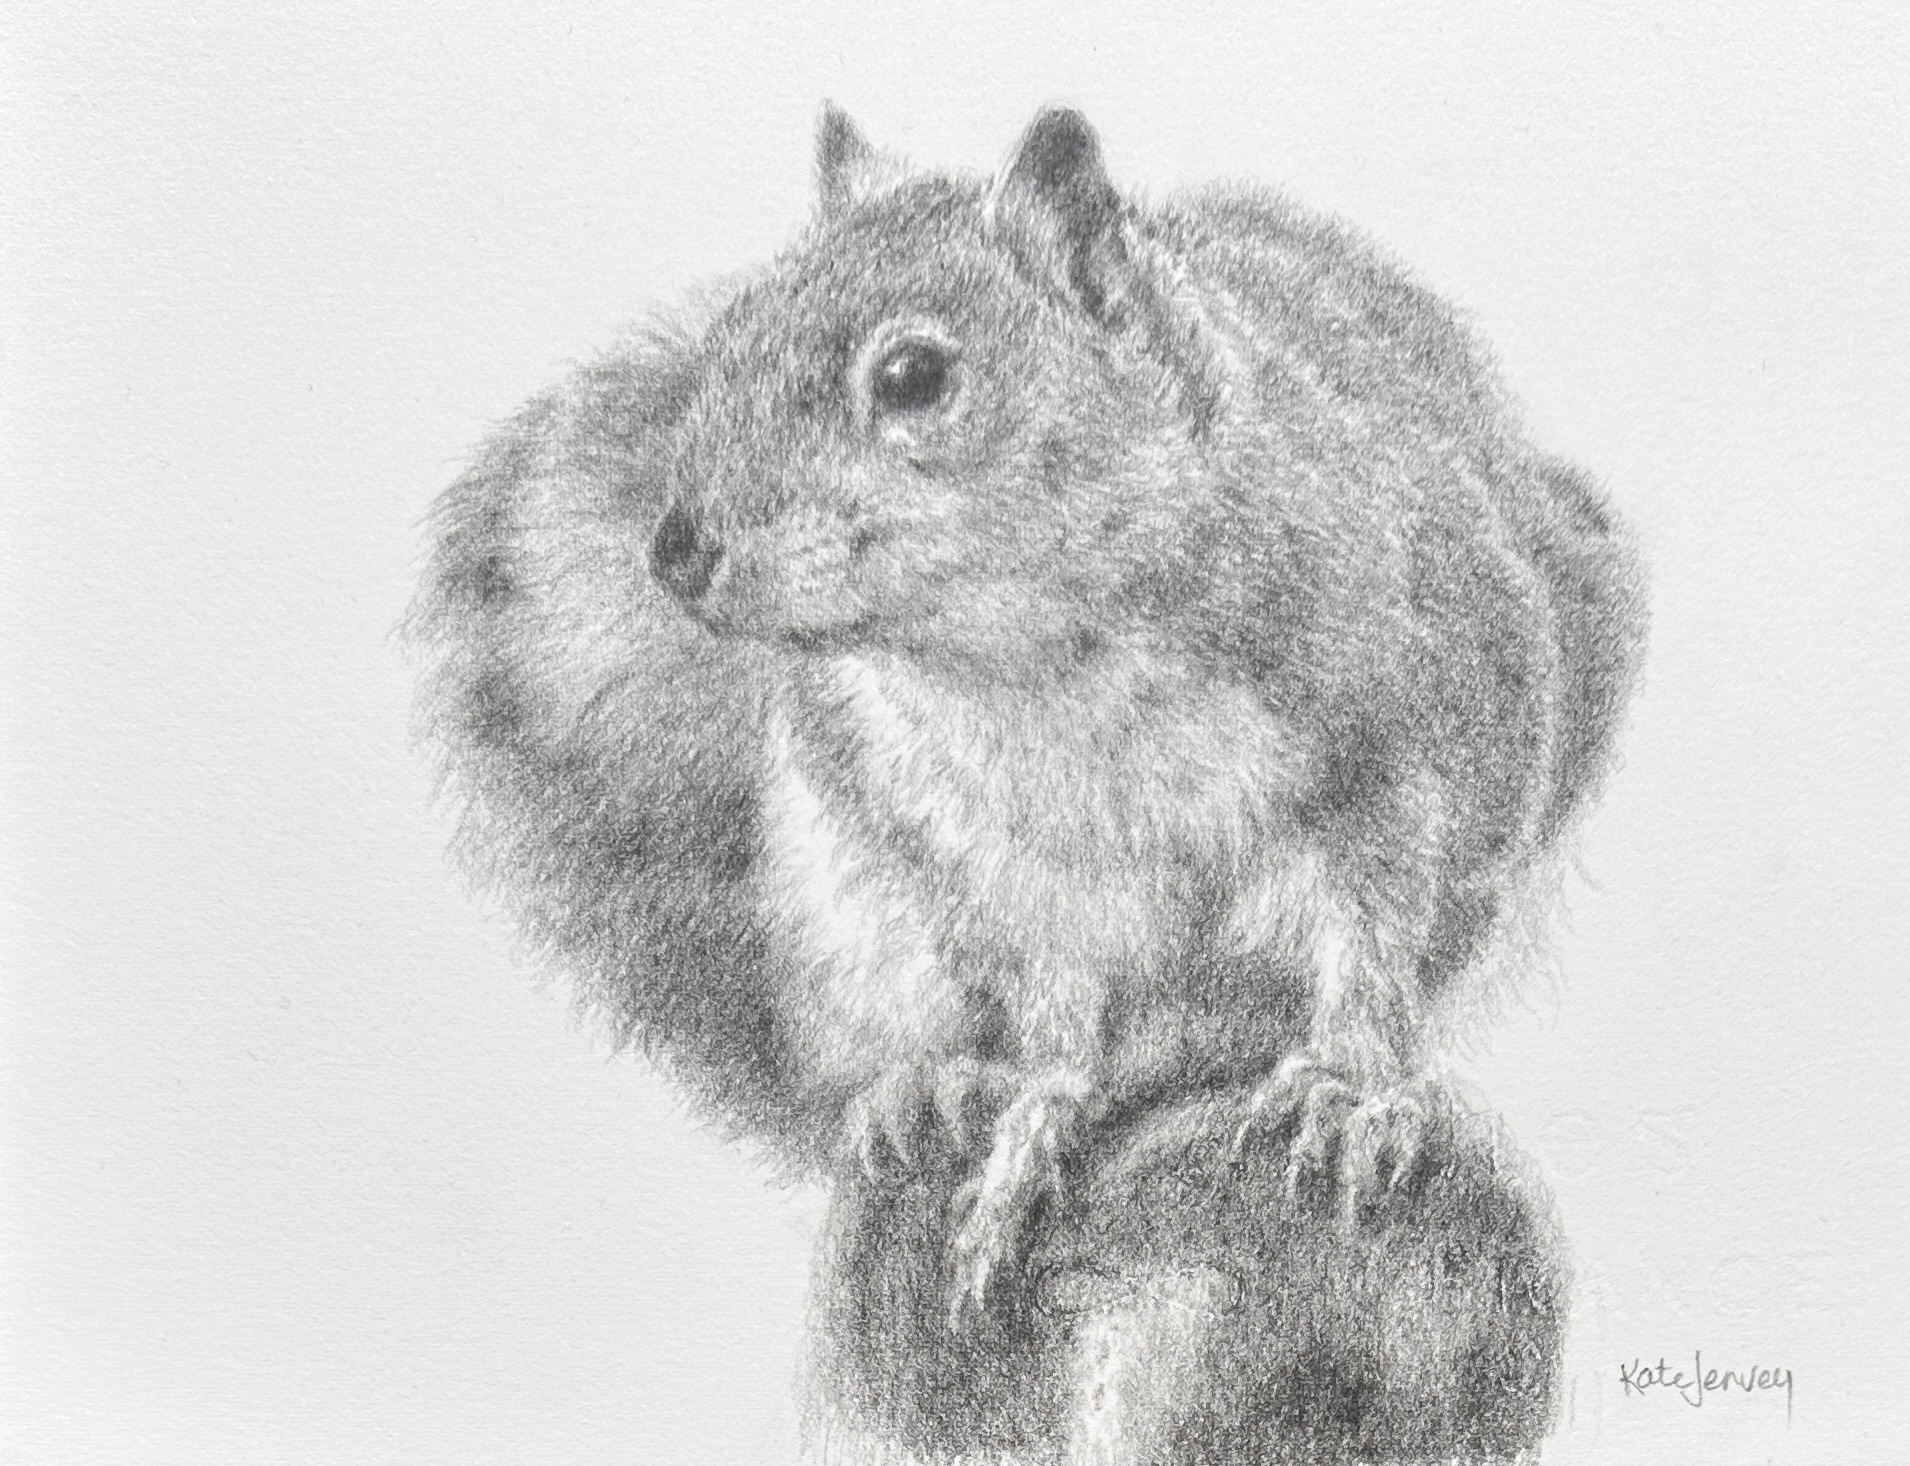
How to draw realistic animal fur in graphite
How to Draw Realistic Animal Fur in Graphite
When I first started drawing fur, I thought the answer was more hair. So I drew hair, and then more hair, stroke after careful stroke, and when I finally sat back to look at it, the whole thing was flat. There were plenty of individual hairs on the page, but I hadn't built the values underneath them, and without values there was nothing to give the animal any form.
If that sounds familiar, please don't be too hard on yourself. This is very common! When we hear the word fur, we naturally imagine thousands of strands, so of course that is what we try to draw.
The good news is that realistic fur doesn't come from drawing every hair. It comes from learning to see what is really happening within the fur: the shapes, values, direction, texture and softness that work together to create form. Let's simplify this.
What I Use
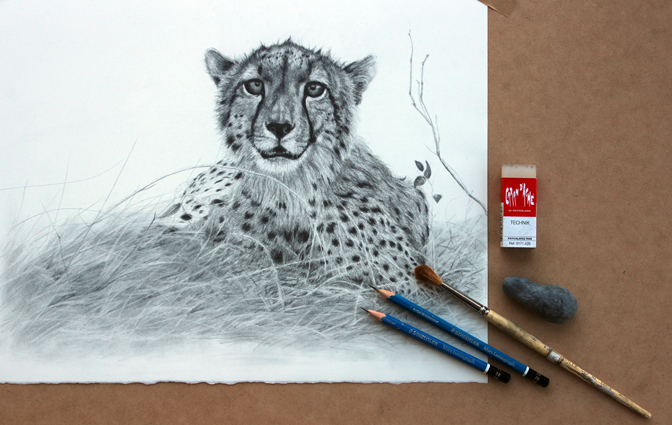
You don't need a big collection of materials to draw beautiful fur in graphite. I use Staedtler Mars Lumograph pencils in 2B and 3B on Arches Hot Pressed Watercolour Paper, 300 gsm, along with a kneadable eraser, a vinyl eraser and a soft brush to remove debris. That's it, no other tools.
Study the Fur Before You Draw
Before you commit pencil to paper, spend time really looking at the fur. Ask yourself:
Where are the largest light and dark shapes?
Where are the main shadows?
Which direction is the fur travelling, and where does that change?
Is the fur short, medium or long?
Where is it soft and indistinct?
Where can I actually see individual hairs?
Then remember this one principle: shape and value first, detail last. Squint at your reference photo if it helps, as this removes the distracting detail and makes the main value patterns much easier to see. If the shapes, values and form are right, the fur will begin to look believable before you have added much detail at all.
Remember That Fur Is Soft
The dominant visual quality of fur is softness, so keep this at the front of your mind for the whole drawing. We need softness in our value transitions, in our shadow edges, in changes of direction and in the way one clump melts into the next.
One of the most common problems I see in fur drawings is overly sharp edges. Even beautifully detailed fur can look unnatural once it has lost its softness.
Think in Clumps, Not Hairs
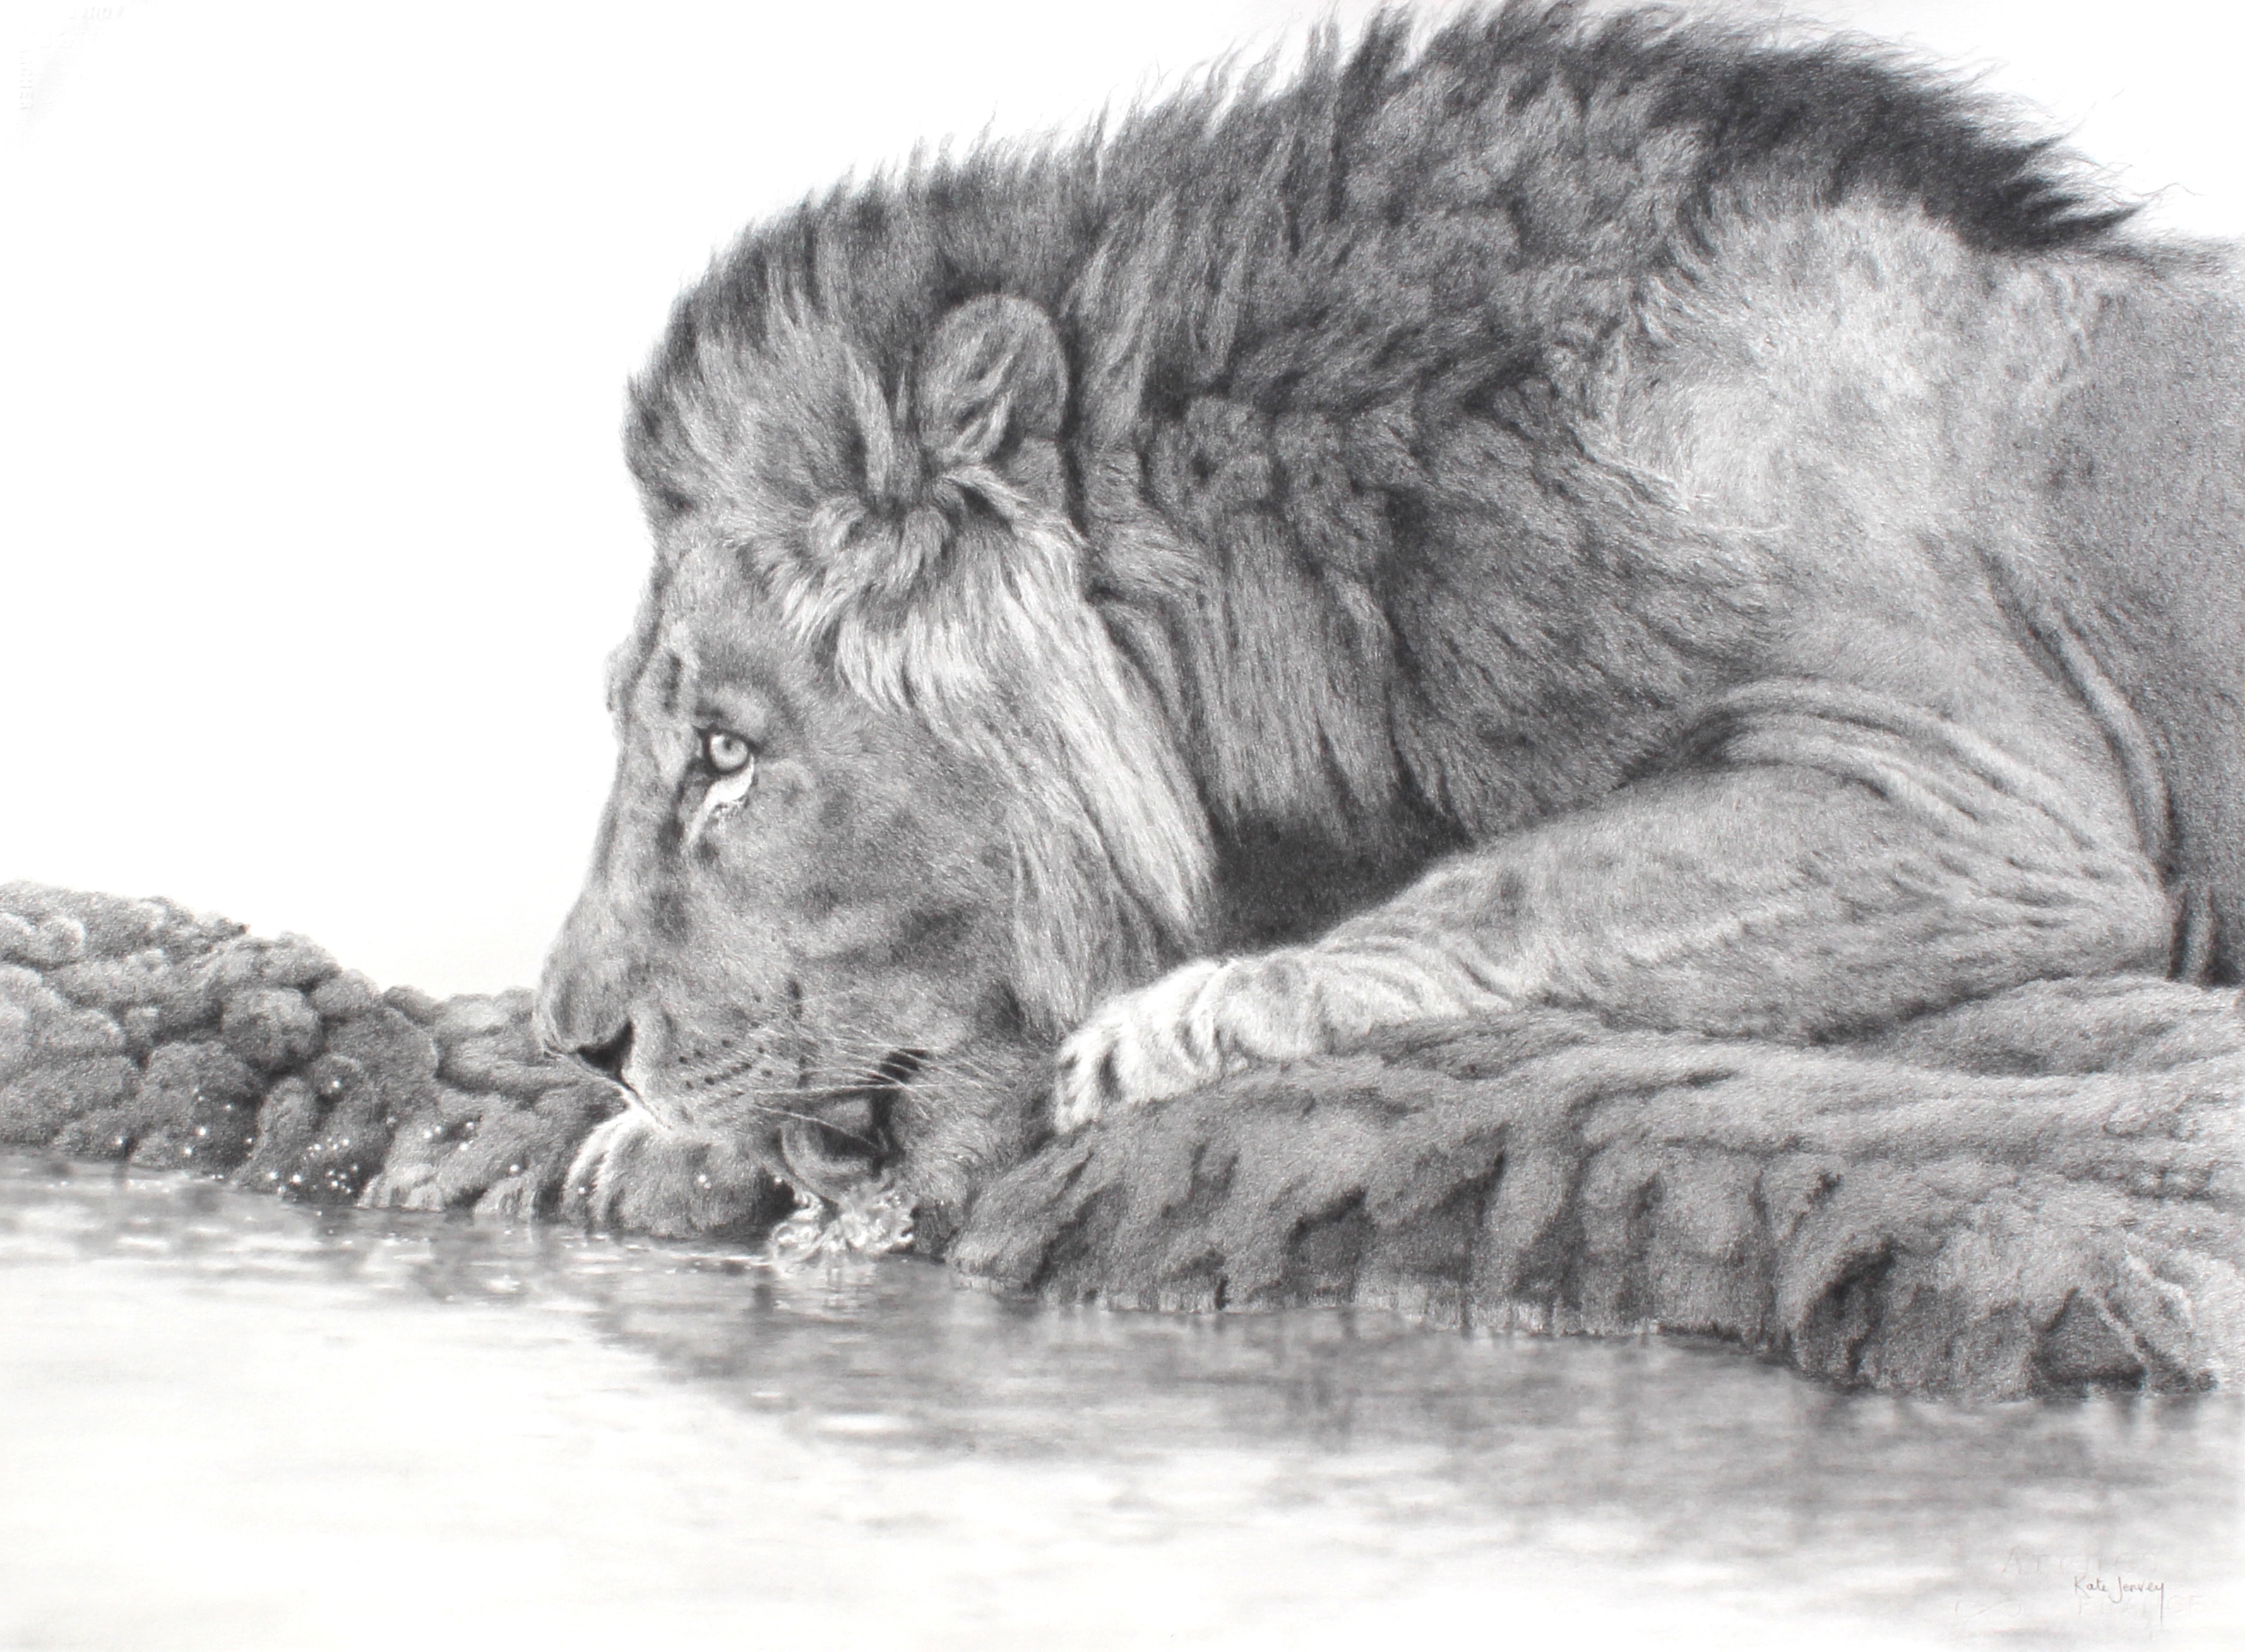
A male lion is a wonderful example of this. Look at the mane in my graphite drawing of a lion drinking at the water's edge. A mane like that has thousands of hairs, but we don't read them one by one. We read dark masses across the neck and shoulder, lighter clumps falling beside the face, and a few loose tufts breaking the outline at the top.
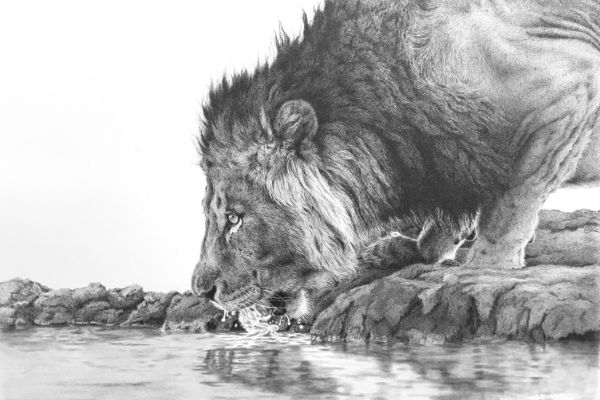
A Thirst for Life, graphite
Each clump has its own shape, direction, shadow side, mid-tone, and light side. You can think of a clump almost like a small cylinder, moving from dark to mid-tone to light. That value change gives the fur volume and helps it wrap around the animal's form.
Individual strands are simply small pieces of information that help describe the surface. You only need a few carefully placed hairs to suggest thousands more.
Build the Fur in Layers
Rather than beginning with fur strokes, establish the shadows first. They help define the direction and length of the fur, the underlying form and the separation between clumps. Keep their edges soft, as a couple of light layers can often be enough to set up the structure.
From there, we build gradually. Trying to achieve the finished texture in one layer often leads to fur that looks flat, scratchy or too linear. Here is a simple order to follow:
Observe the overall shape and identify the dominant values.
Establish soft shadows.
Look for the fur's main direction.
Develop the mid-tones and build the larger clumps.
Gradually strengthen the darks and lights, keeping your edges soft.
Add texture selectively, along with some highlights.
Finish with a few carefully chosen individual hairs.
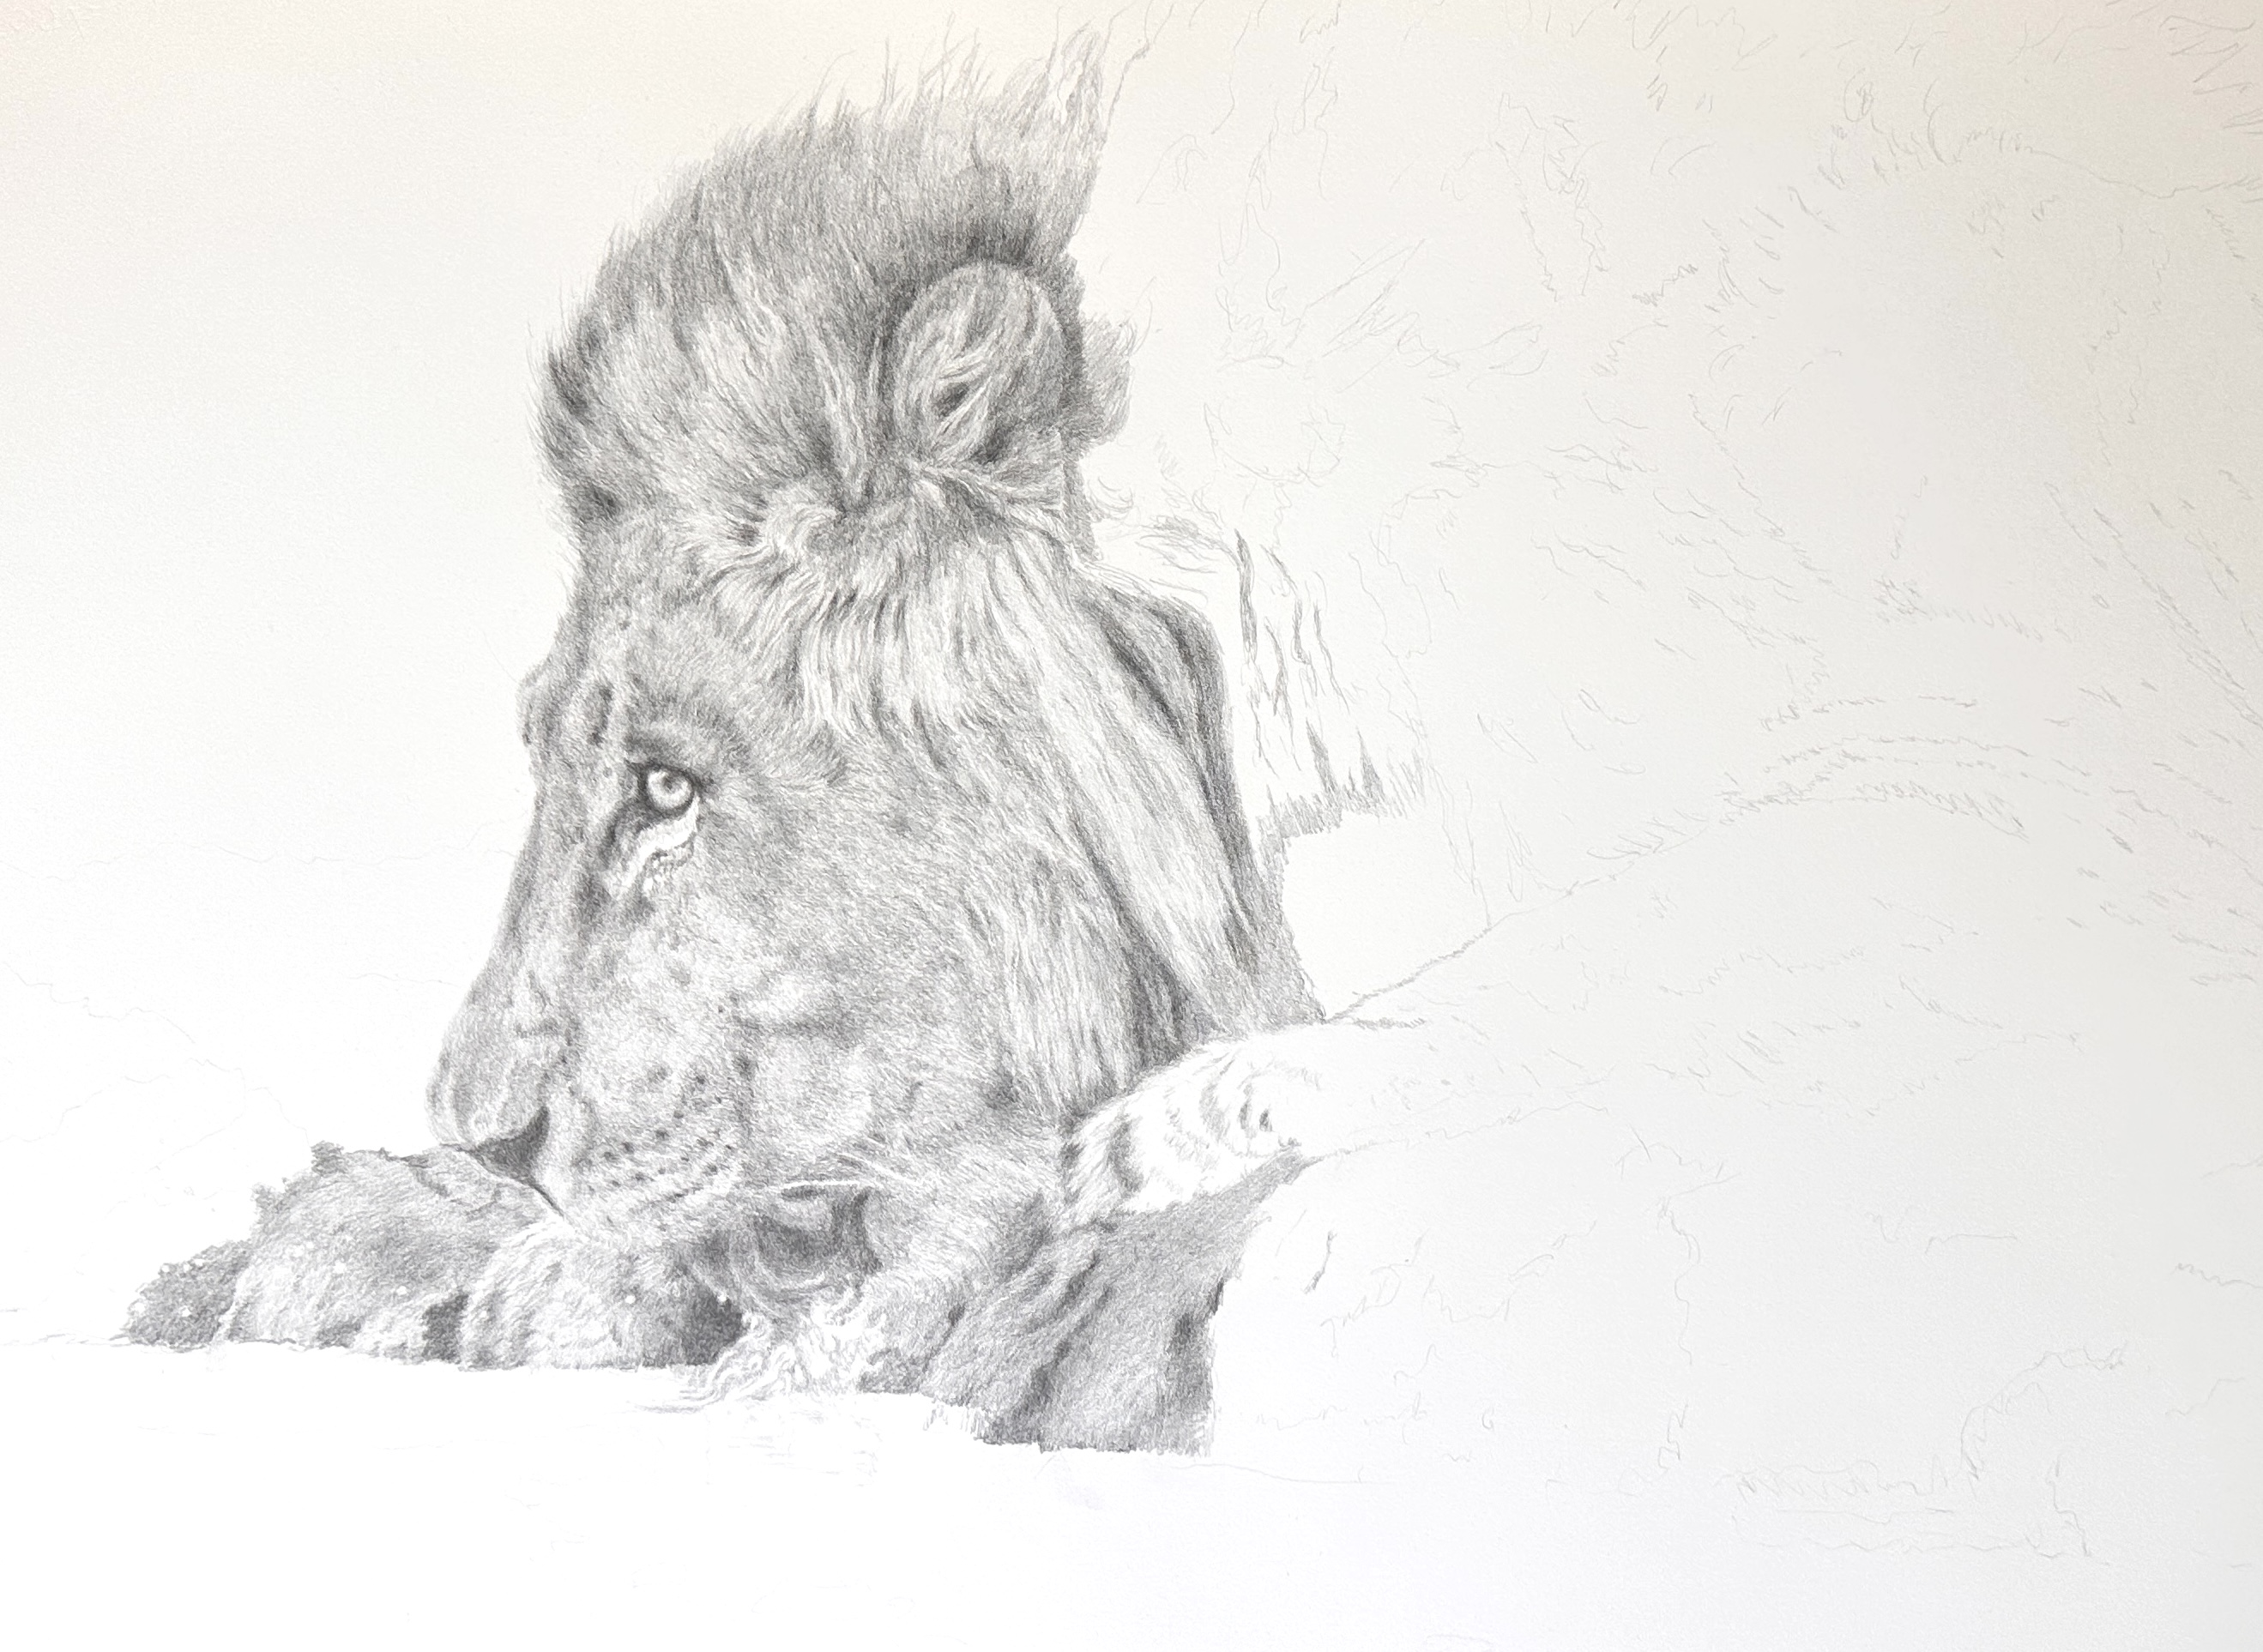
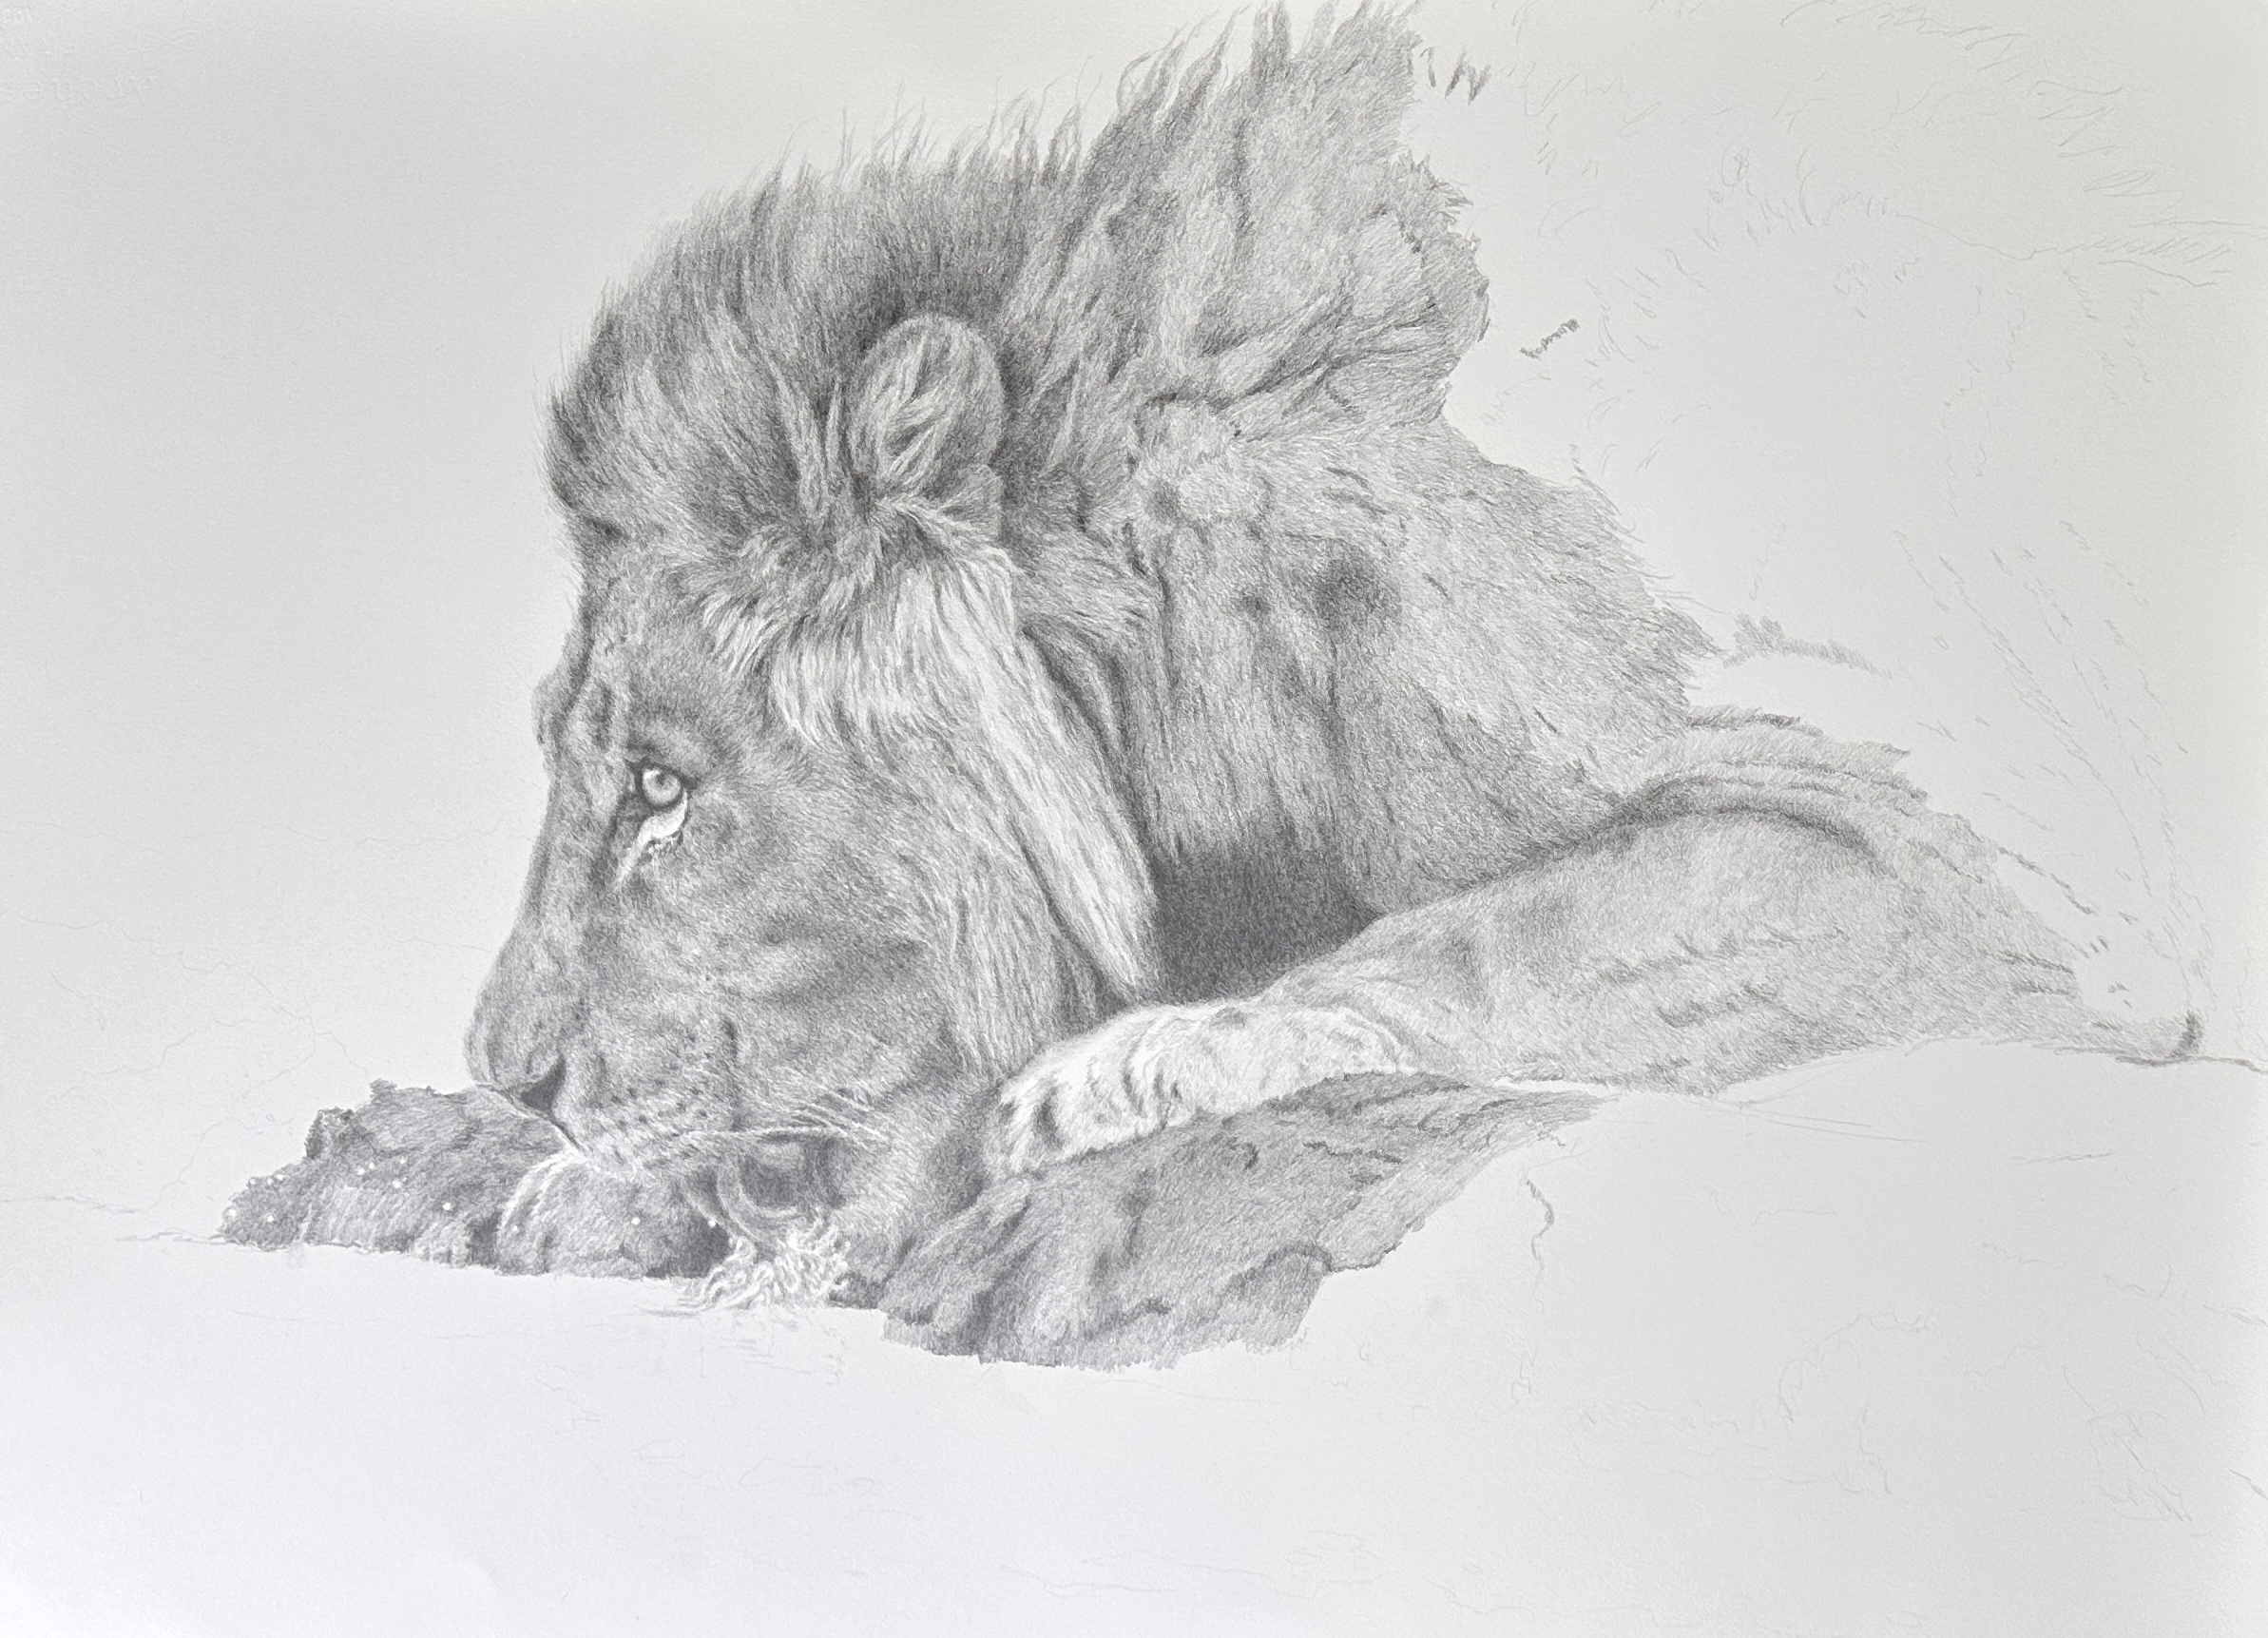
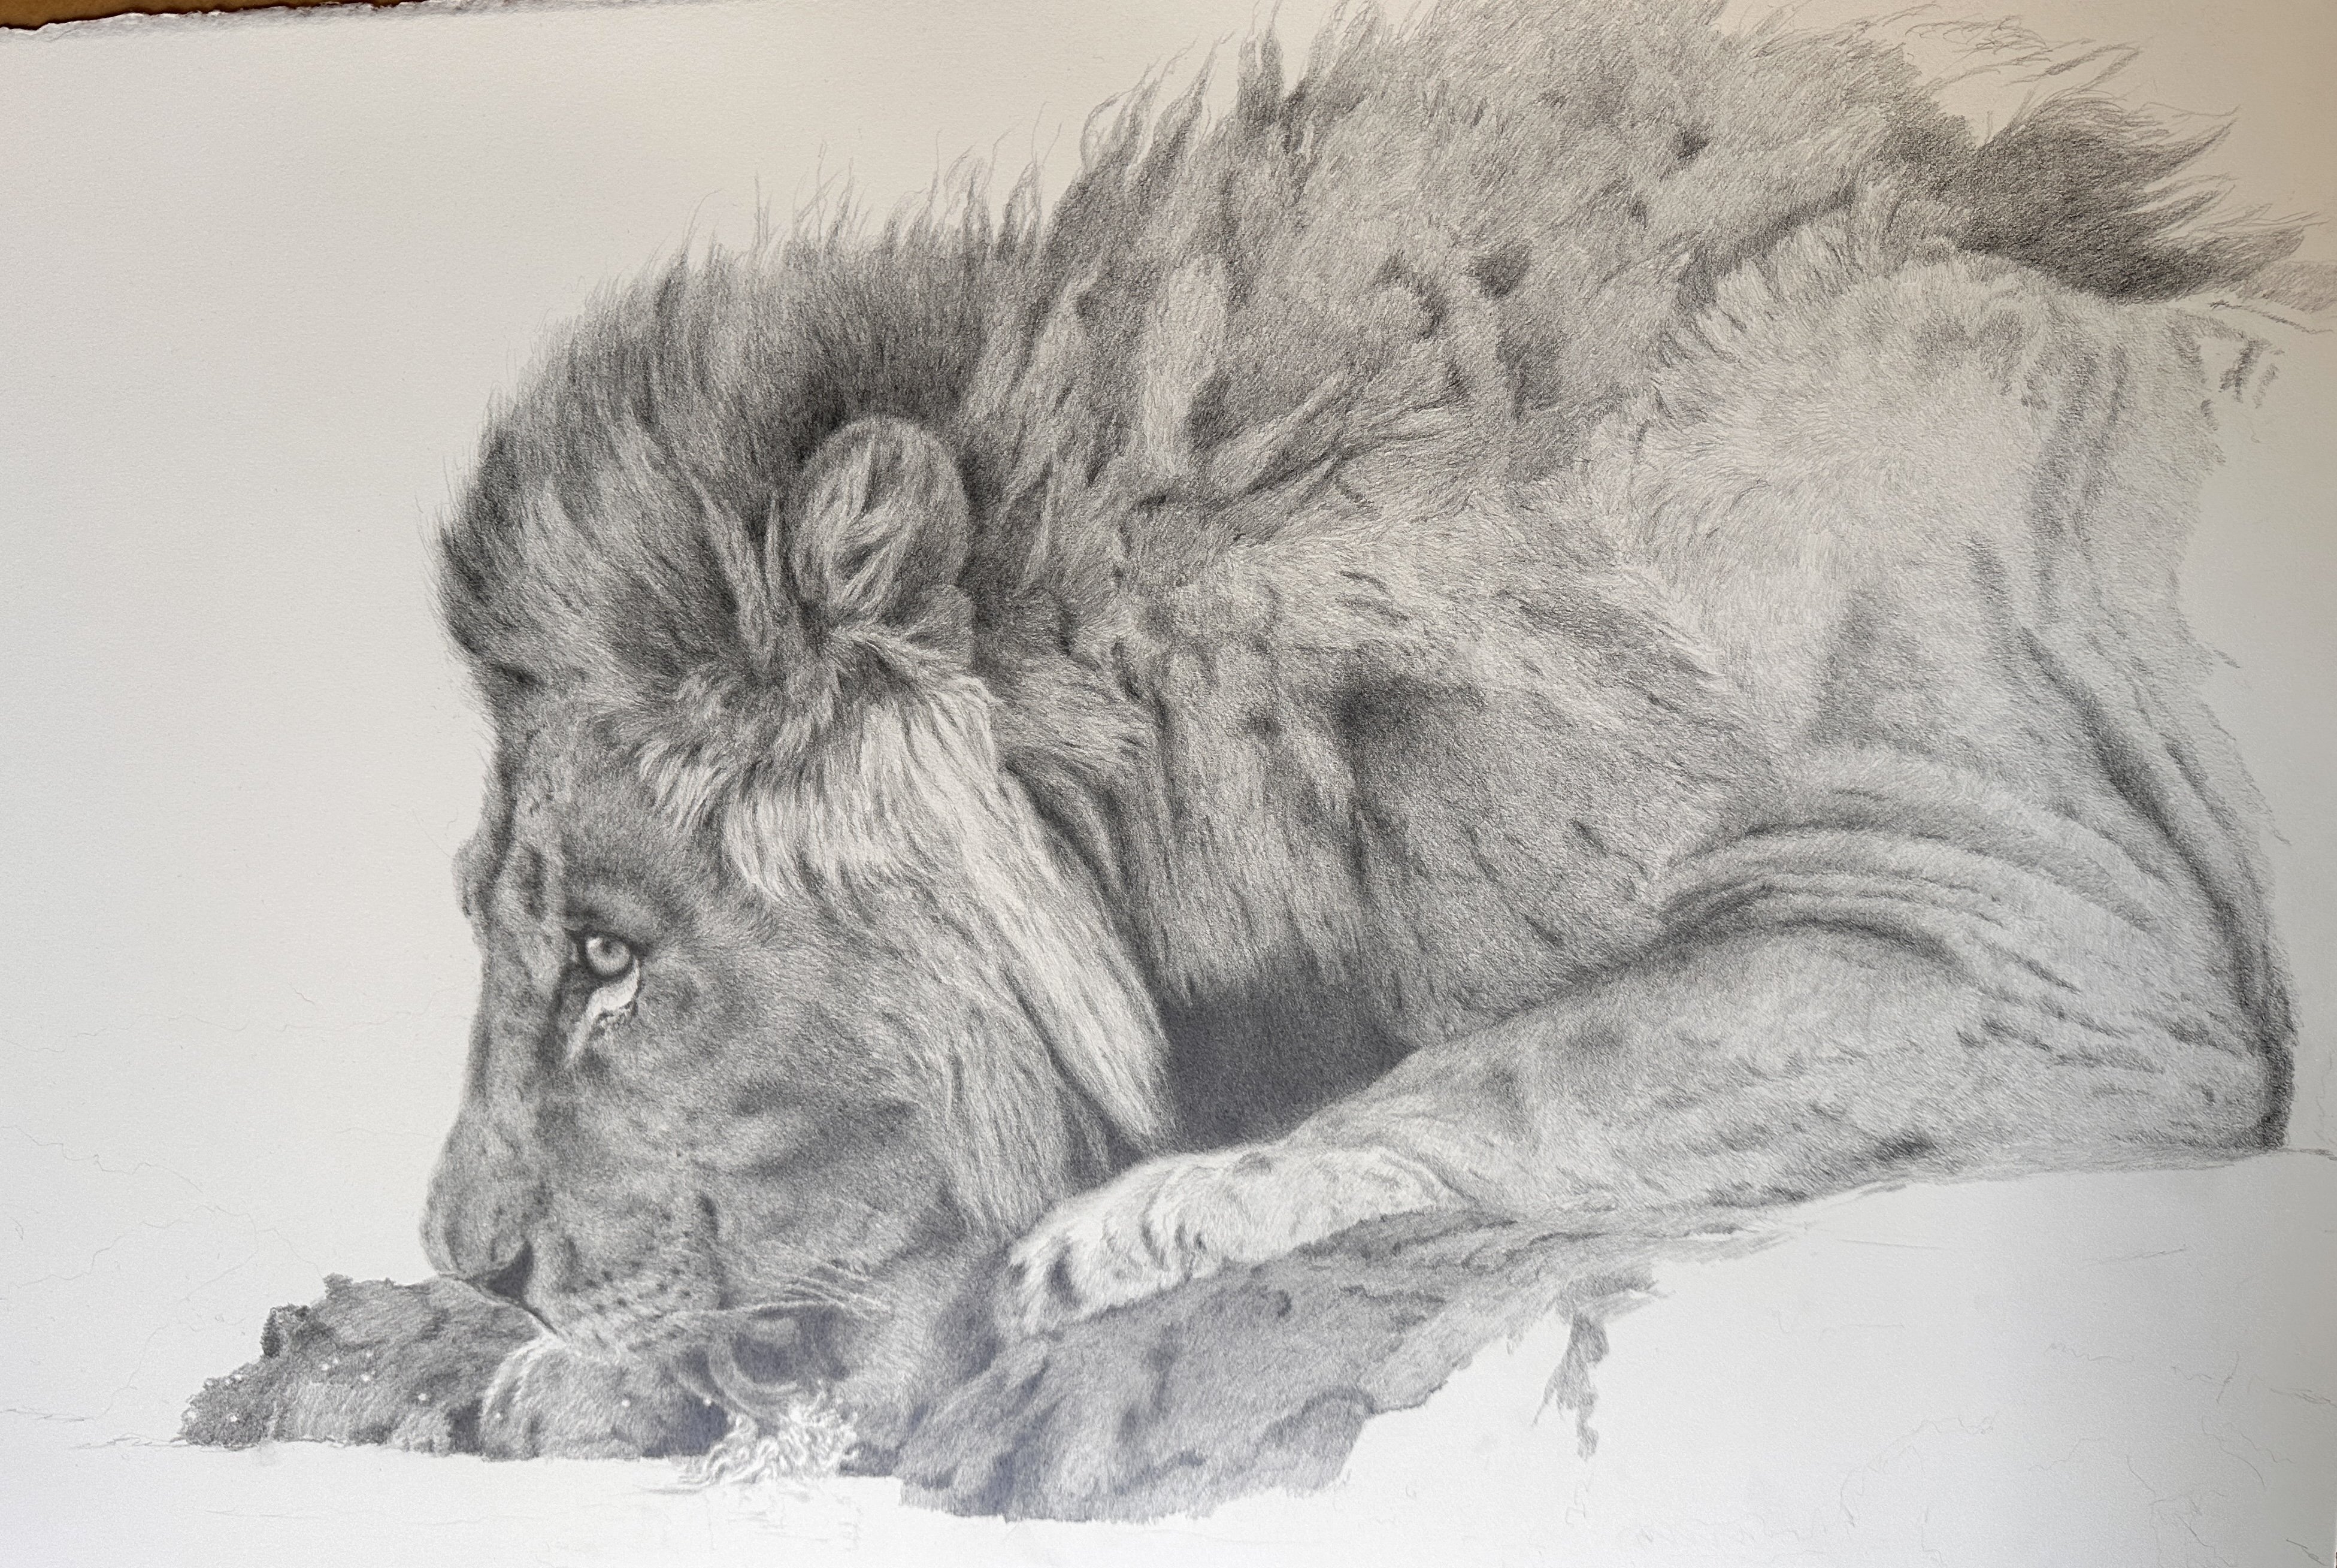
Let Your Pencil Stroke Match the Fur
There is no single fur stroke. Rather than asking, "How do I draw fur?", try asking, "What kind of fur am I looking at?"
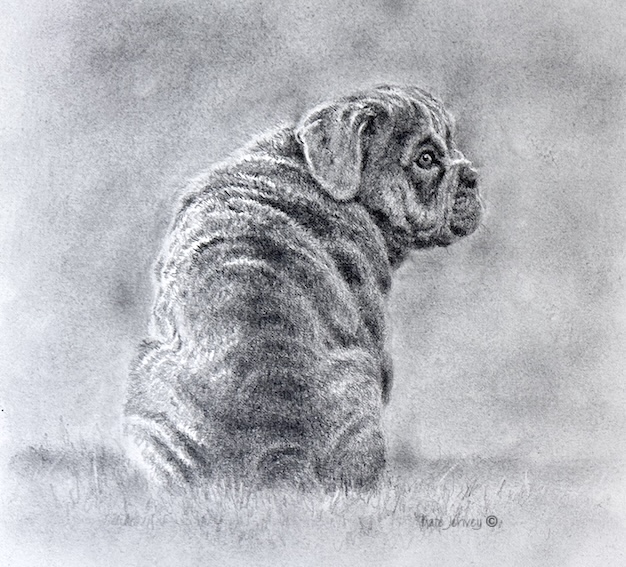
Short, velvety fur: A horse is a lovely example, particularly in its summer coat. This fur reads as a soft mass rather than individual hairs, so use light elliptical or circular strokes, gentle layering and smooth transitions, with very few hair marks. Lots of obvious linear strokes here can quickly make the coat look too coarse.
Short to medium fur: You can begin introducing slightly more linear strokes that follow the direction of growth, overlap naturally and vary a little in length. Keep them integrated with the layers underneath, so that we still see masses and clumps rather than a collection of separate lines.
Longer fur: Think of our lion's mane again. Establish the larger clumps first with soft elliptical strokes, then add longer directional strokes where needed, with some gently flicking out to suggest loose hairs. If we begin straight away with long individual strokes, the fur can become stringy rather than soft and full.
Fur Follows Form
We are not simply drawing fur. We are drawing an animal covered in fur, and the skull, muscles and body structure underneath determine how that fur sits. Its direction changes as it moves around the head, muzzle, eyes, neck, shoulders, legs and body, and those changes describe the three-dimensional form beneath it.
Good fur texture can't rescue incorrect form, but strong form can make surprisingly simple fur marks look convincing.
Be Selective with Edges and Detail
Instead of outlining the animal with a hard line, look for places where fur breaks the silhouette, fine hairs catch the light, or an edge disappears softly into the background. A small number of irregular hairs along an edge can communicate fur beautifully, while too many can make the animal look spiky.
The same goes for detail inside the animal. Save your stronger detail for the focal point, the area around the eyes, certain edges, and the places where one type of fur changes into another. Other areas can stay much softer.
If you ever feel overwhelmed by the amount of fur in front of you, come back to the larger shapes and ask yourself: What is the value here? What shape am I actually seeing? What information do I really need?
Try This Practice Exercise
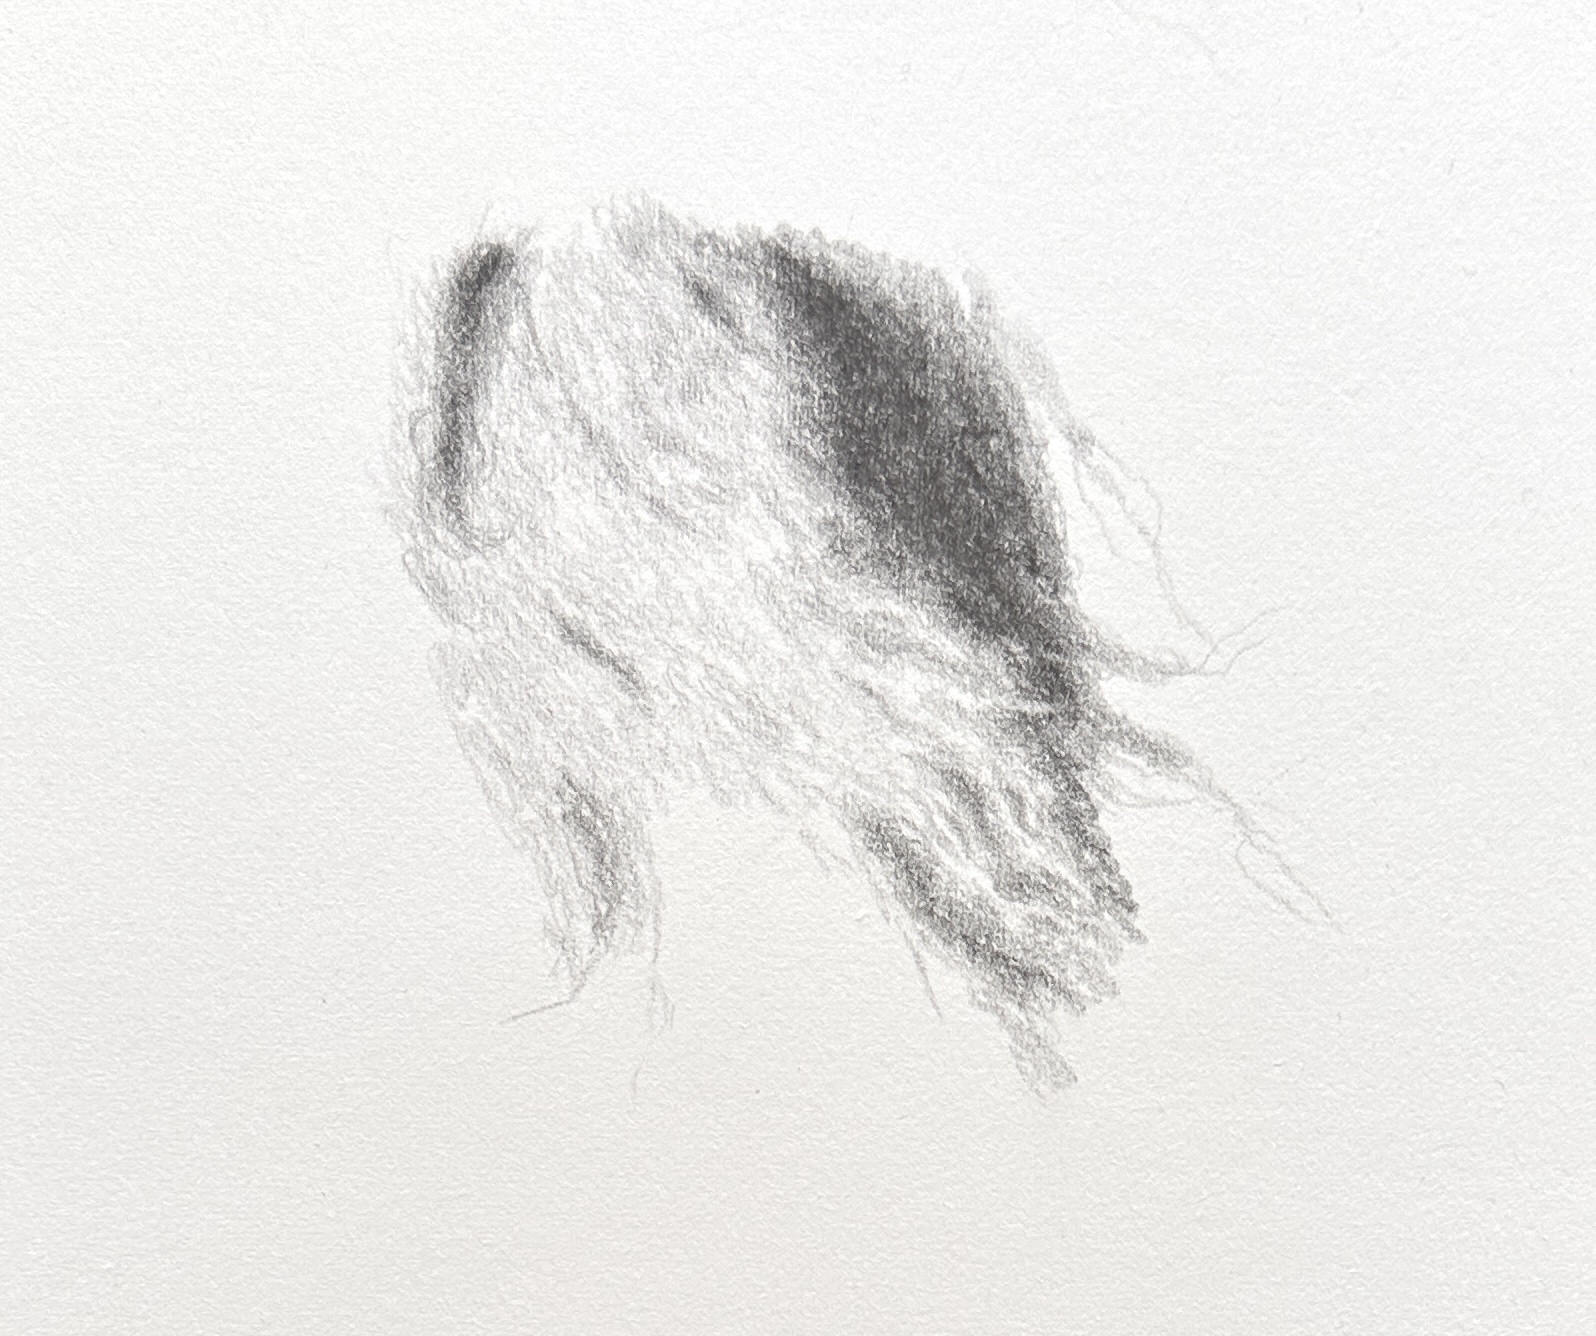
Choose a small section of fur from an animal reference rather than the whole animal. Before you draw, identify the lightest value, the darkest value, the main shadow shapes, the direction and approximate length of the fur, and three or four main clumps.
Create your study without worrying about individual hairs at first, and only add a small amount of fine detail once the form and values are working. This doesn't need to be a finished artwork. It is simply a chance to practise seeing fur as form before seeing it as hair.
Learning to draw fur is really about seeing it differently. Build the fur as a whole first, then allow a few individual hairs to tell the rest of the story.
If you'd like more guidance as you draw realistic animals in graphite, I'd love to help you in Dreams to Drawing, my 28-day graphite course with live Zoom coaching, step-by-step guidance and personal feedback. You can find out more here: https://katejenvey.com/dreams-to-drawing
If you have any questions about drawing fur, please let me know.
Kate